Back to blog
Feb 21, 2026
Tips and Tricks
If you've ever done live testing with me, you'll probably remember setting up a map mission through your native app by creating a polygon. A common question I get asked is if you can make a more detailed and precise mapping mission other than the basic polygon I’ve shown you. The answer, YES and you can do it directly though Nova. In this week's blog post I'll walk you through the steps of creating precise mapping missions using Nova, followed by importing it to your controller and ensuring you have the correct settings so you can obtain the high quality data you're looking for.
Selecting the “Line Tool” and Creating Your Detailed Polygon
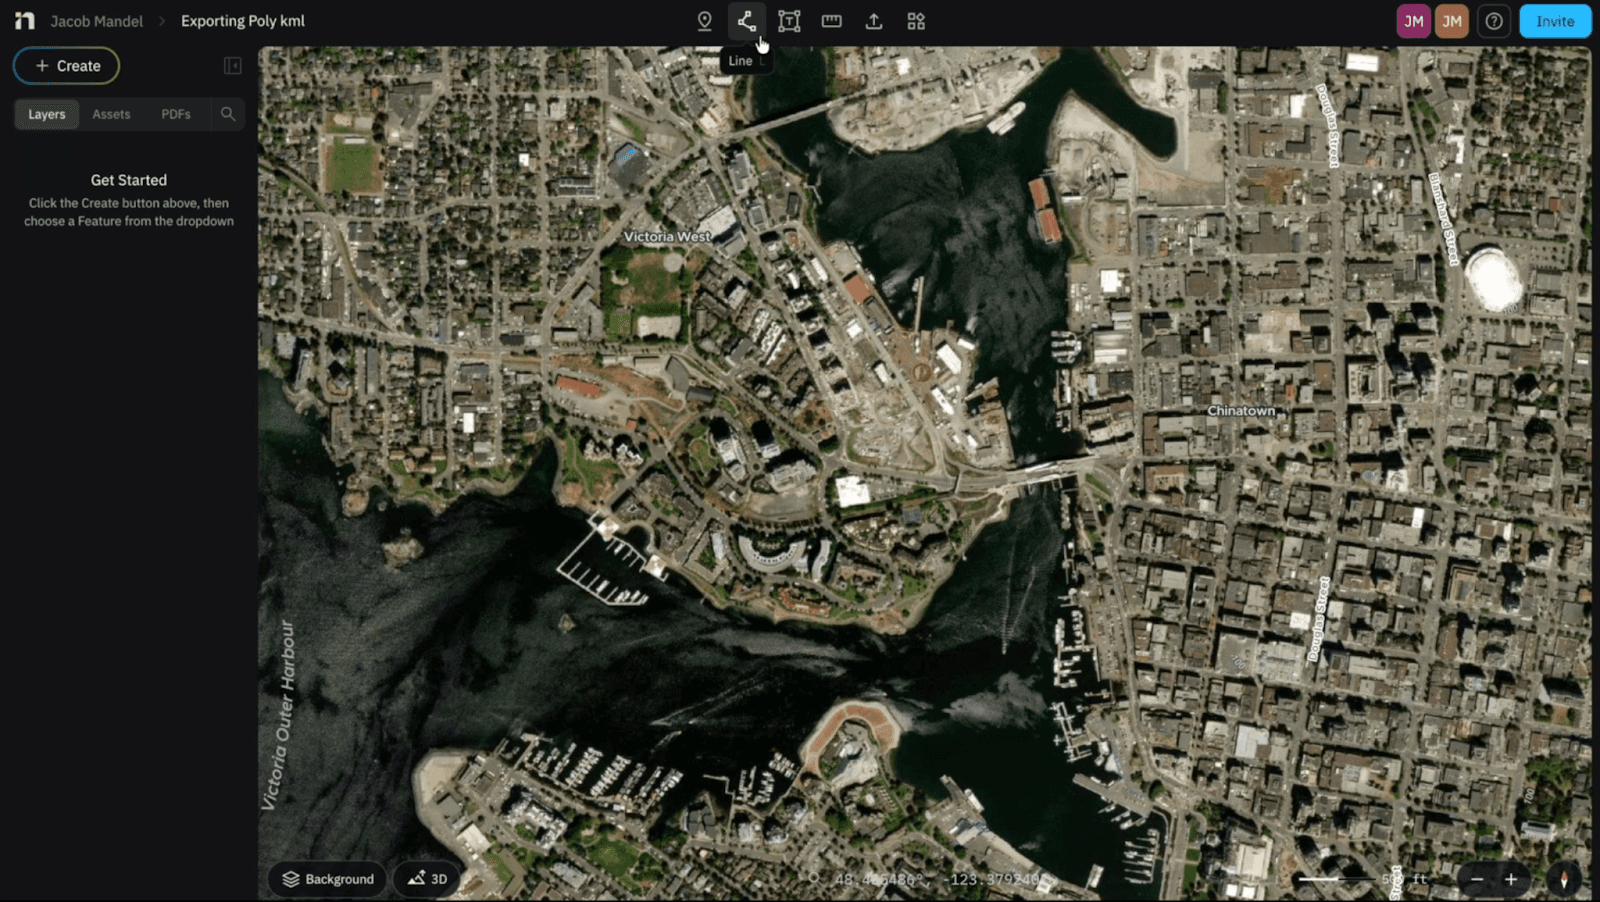
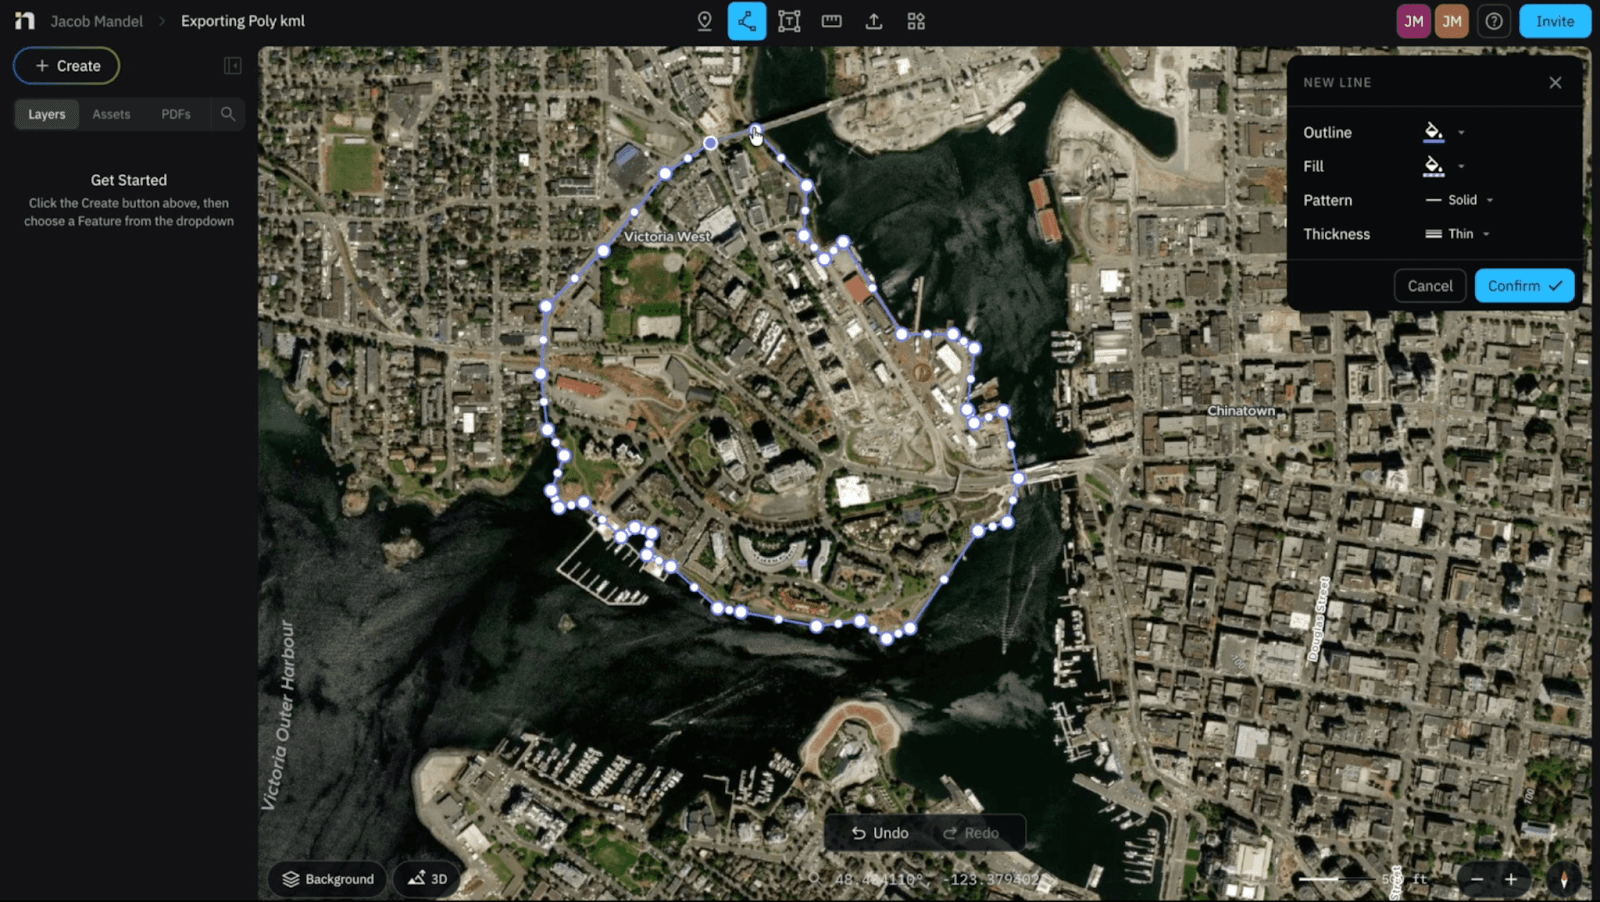
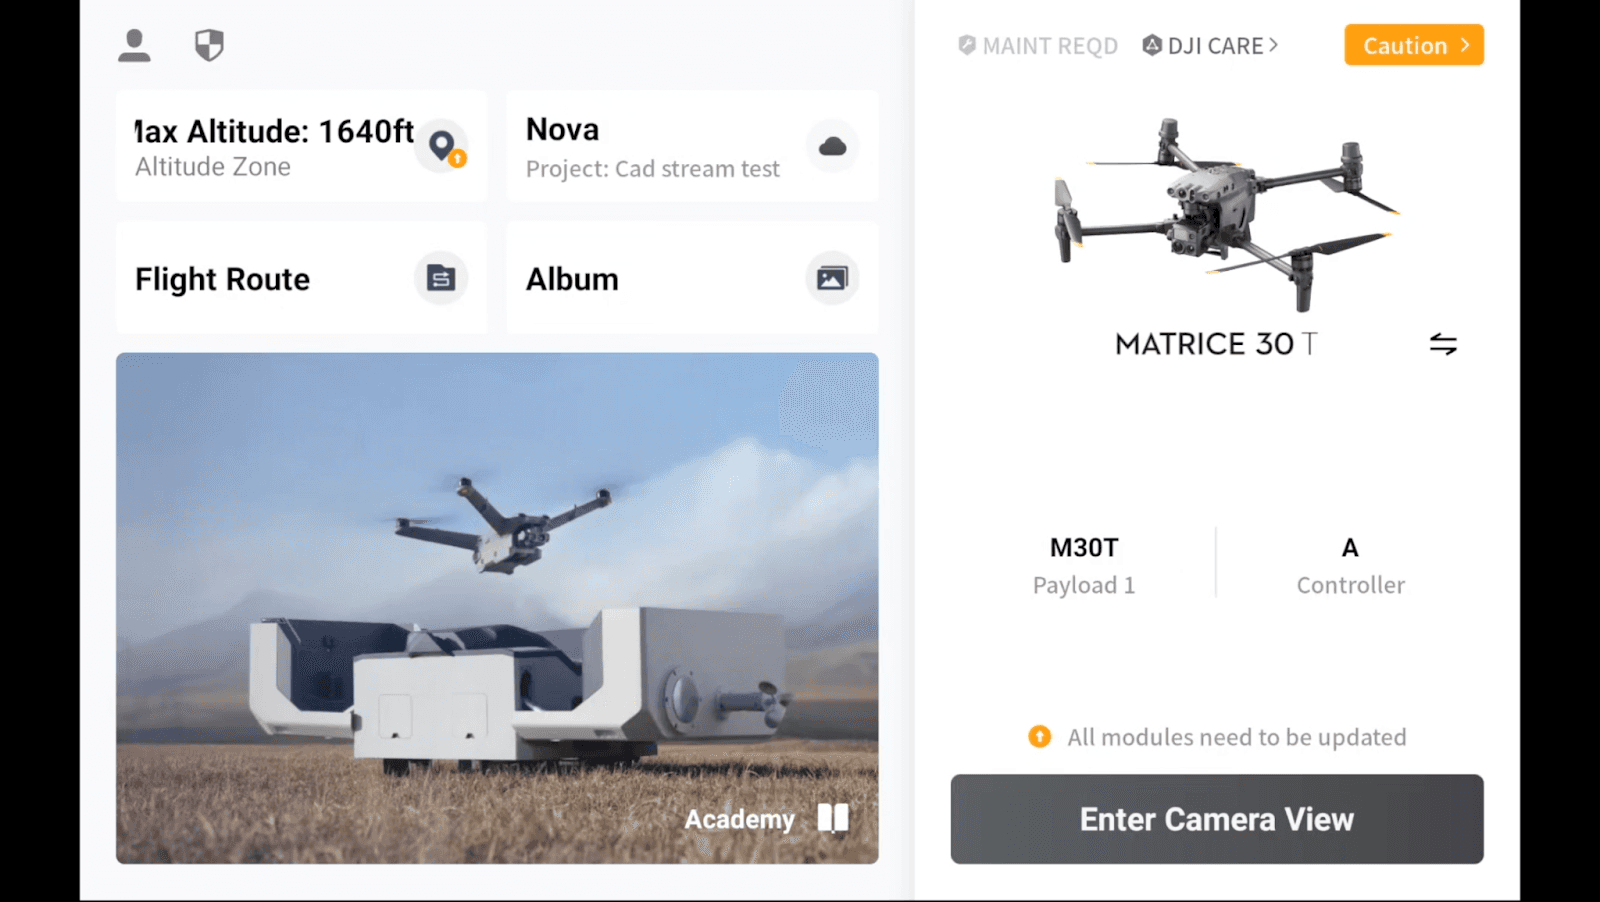
Once you’ve entered into your project you will see 6 Icons in the top middle of your screen. The second Icon on the left is your “Line tool”. After Selected, you can click the desired area you're looking to scan and close your polygon by selecting the point you originally started with. I would recommend using the satellite view in order to generate a more precise polygon.
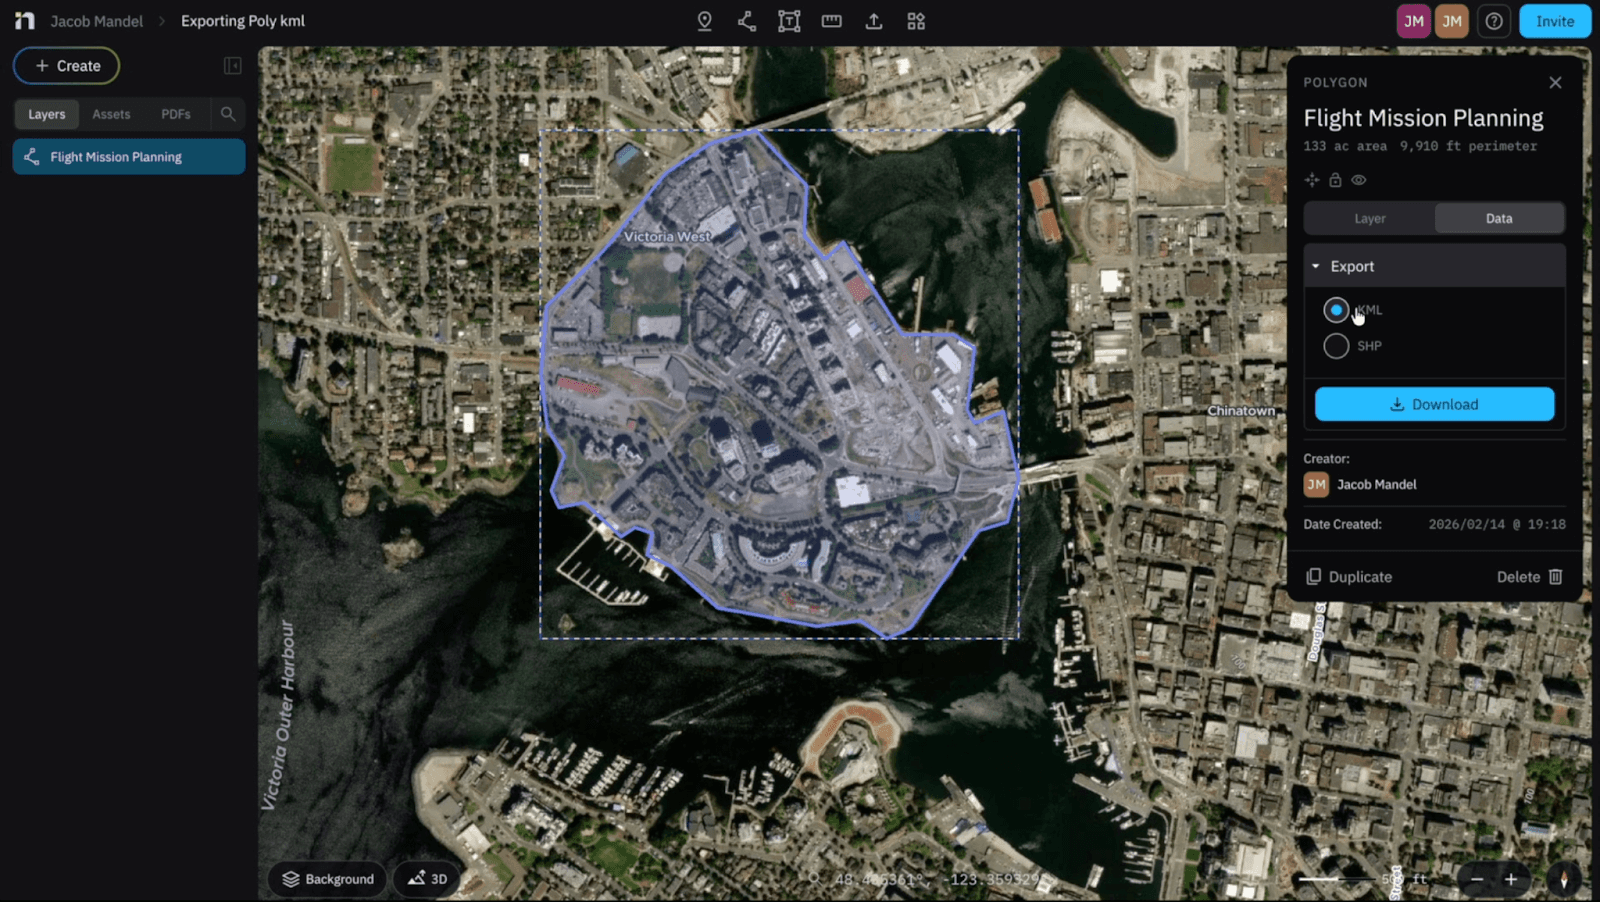
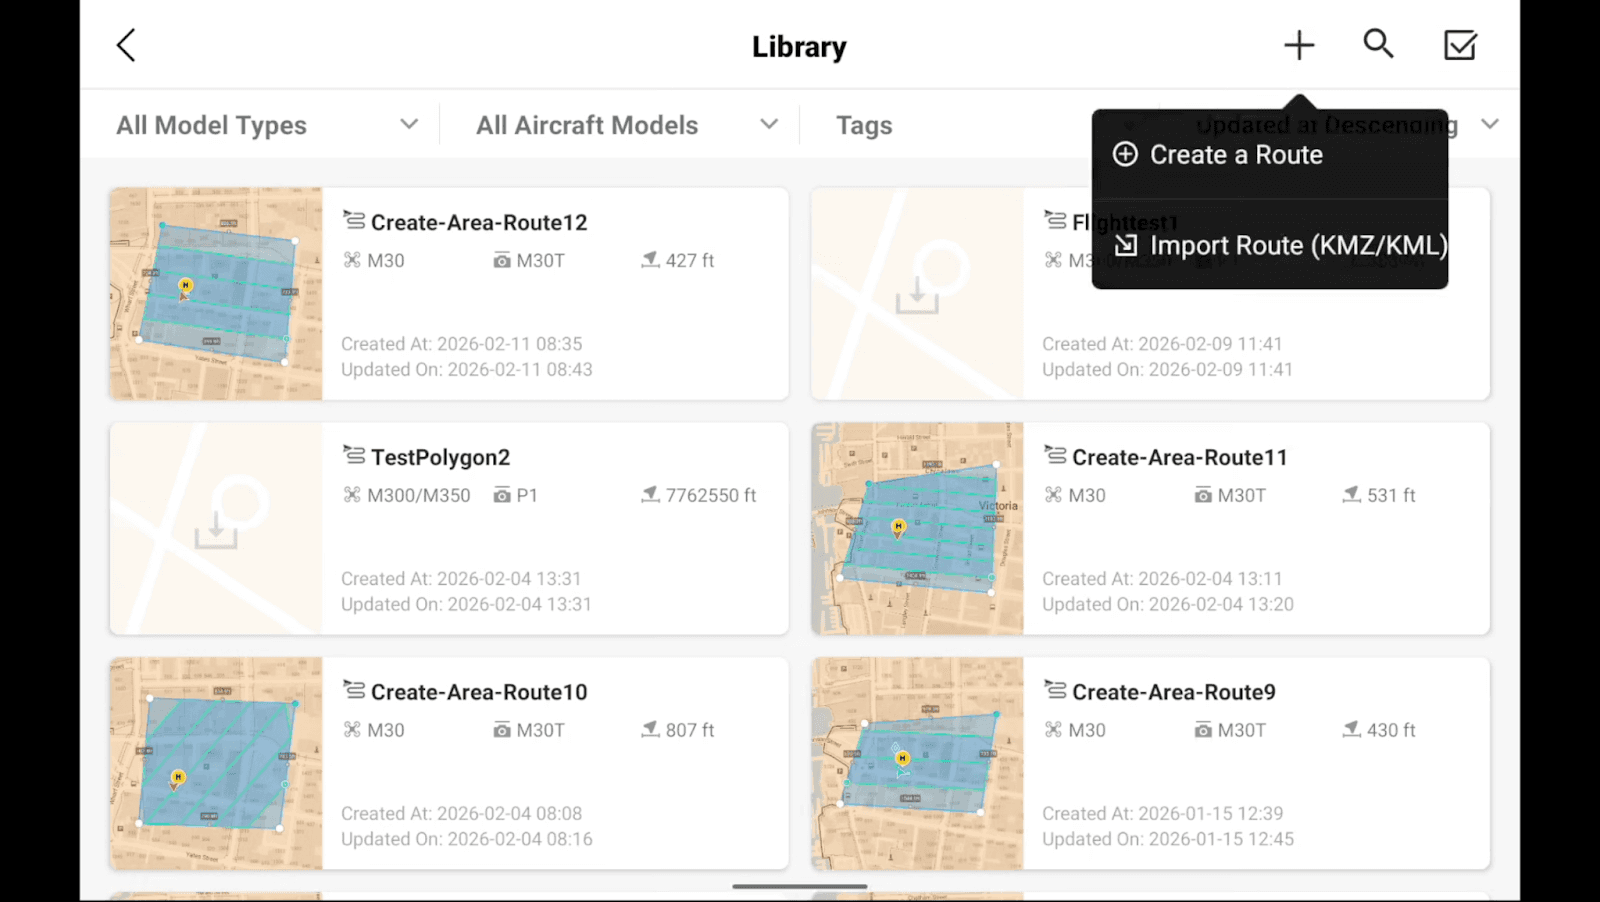
Naming and Exporting Your Polygon as a KML to Your SD Card
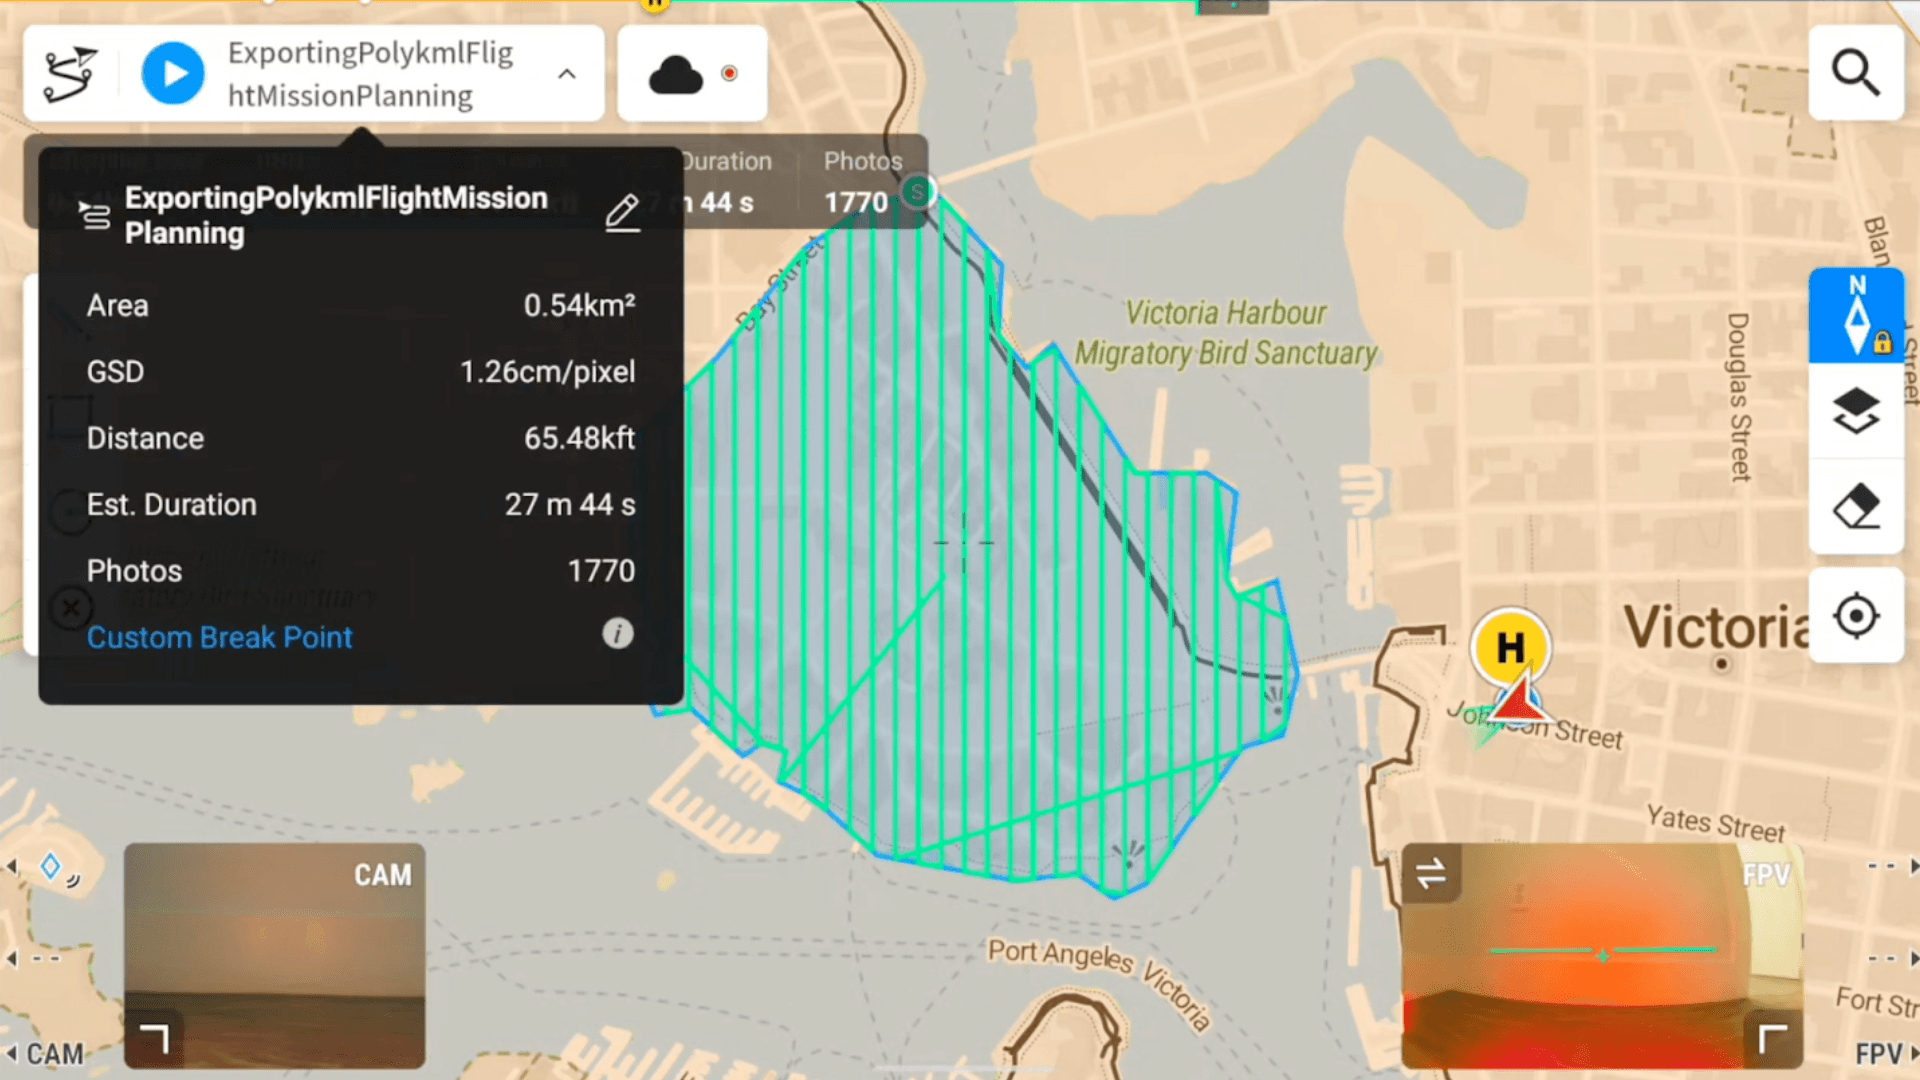
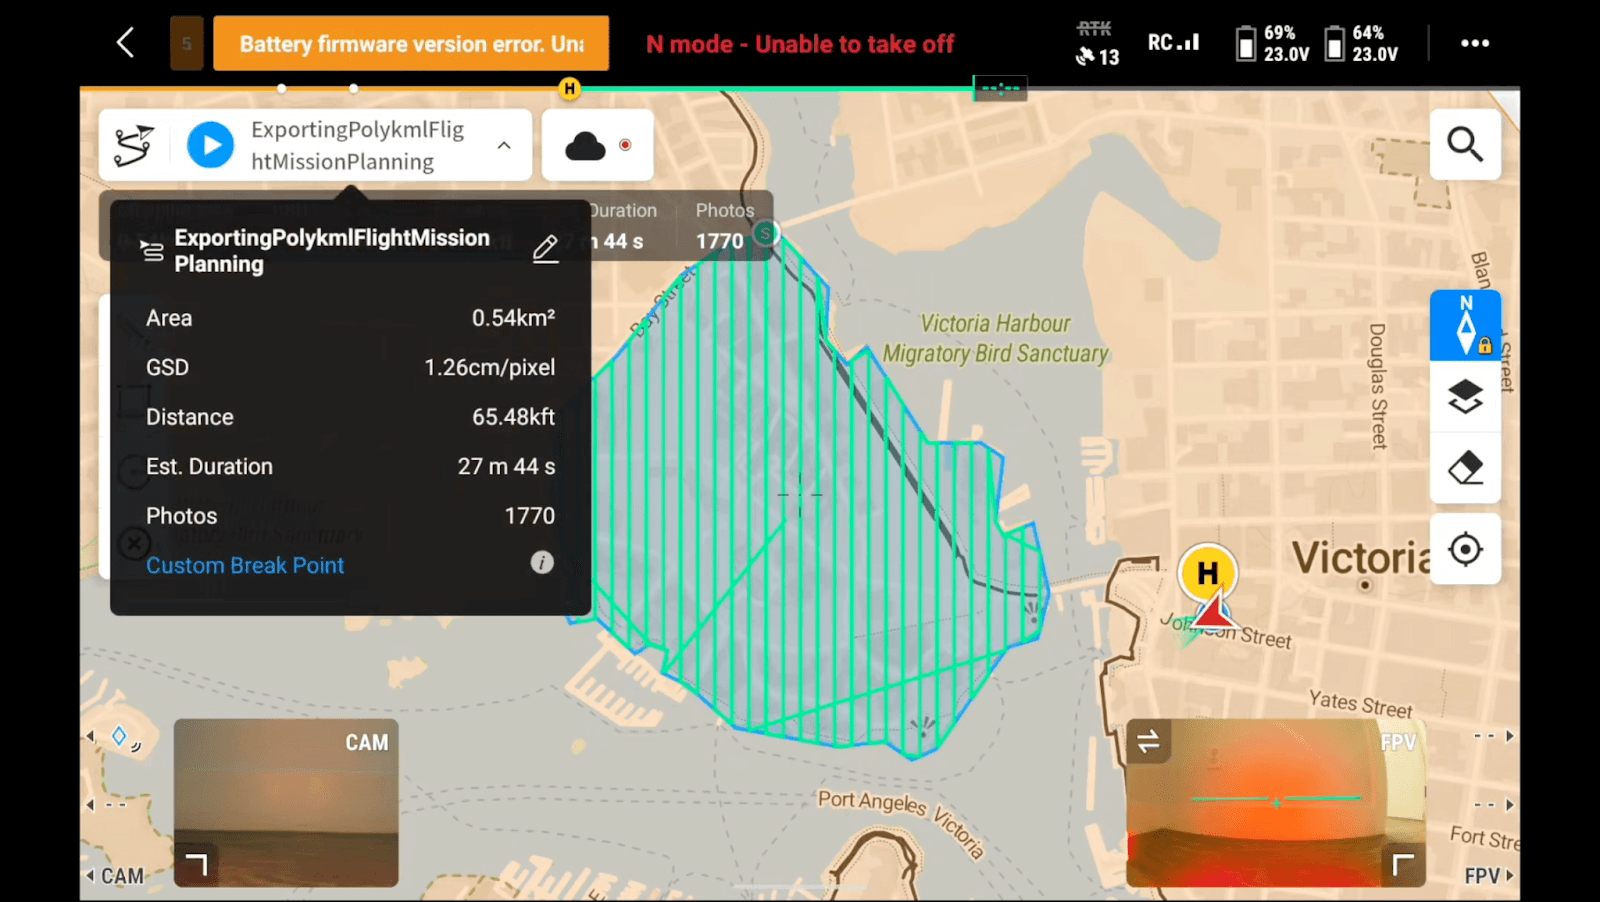
After you've created your polygon it should be highlighted in your layers Panel on the left side of your screen, and your Inspector Panel should appear on the right hand side of your screen. We will then rename the Polygon based on the Flight Mission we are about to fly then select the green check mark. In this example I've used “Flight Mission Planning”.
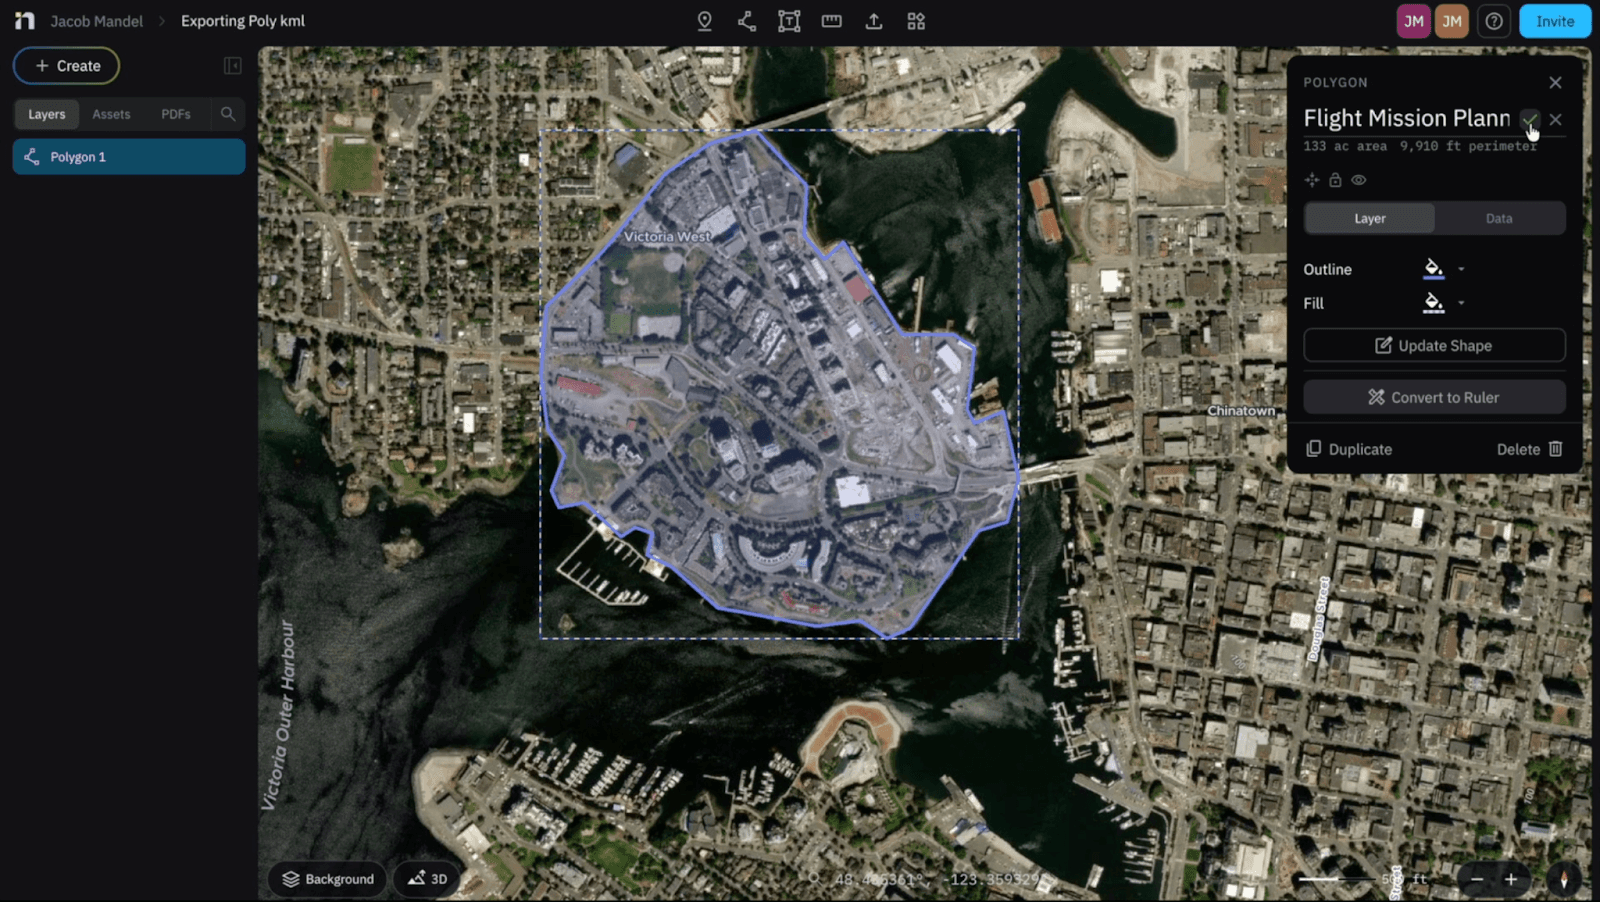
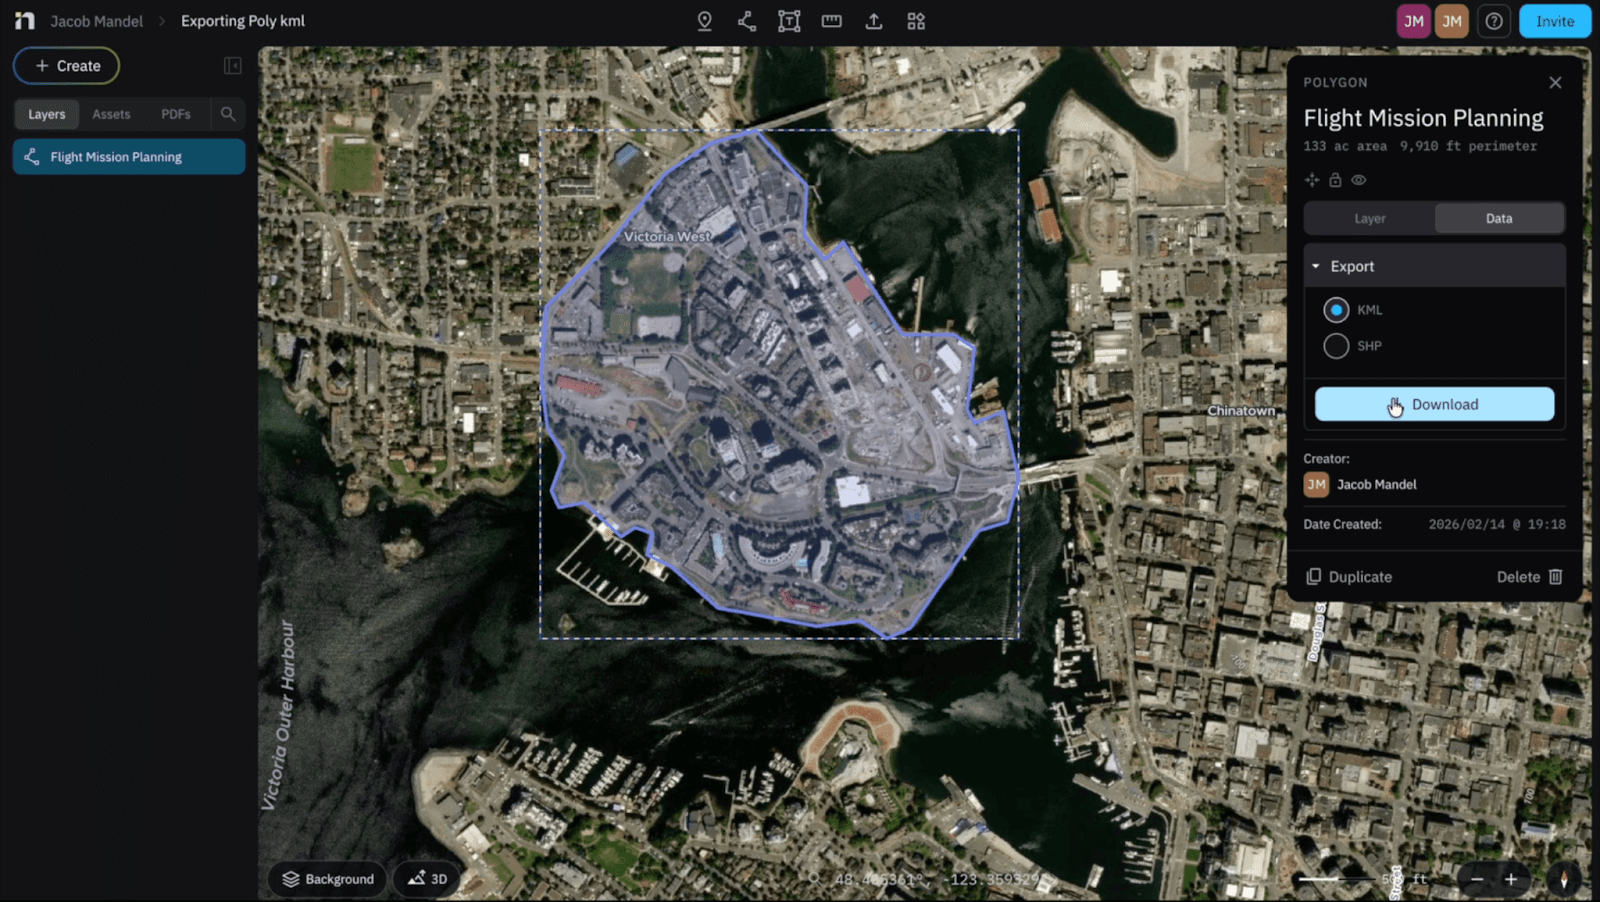
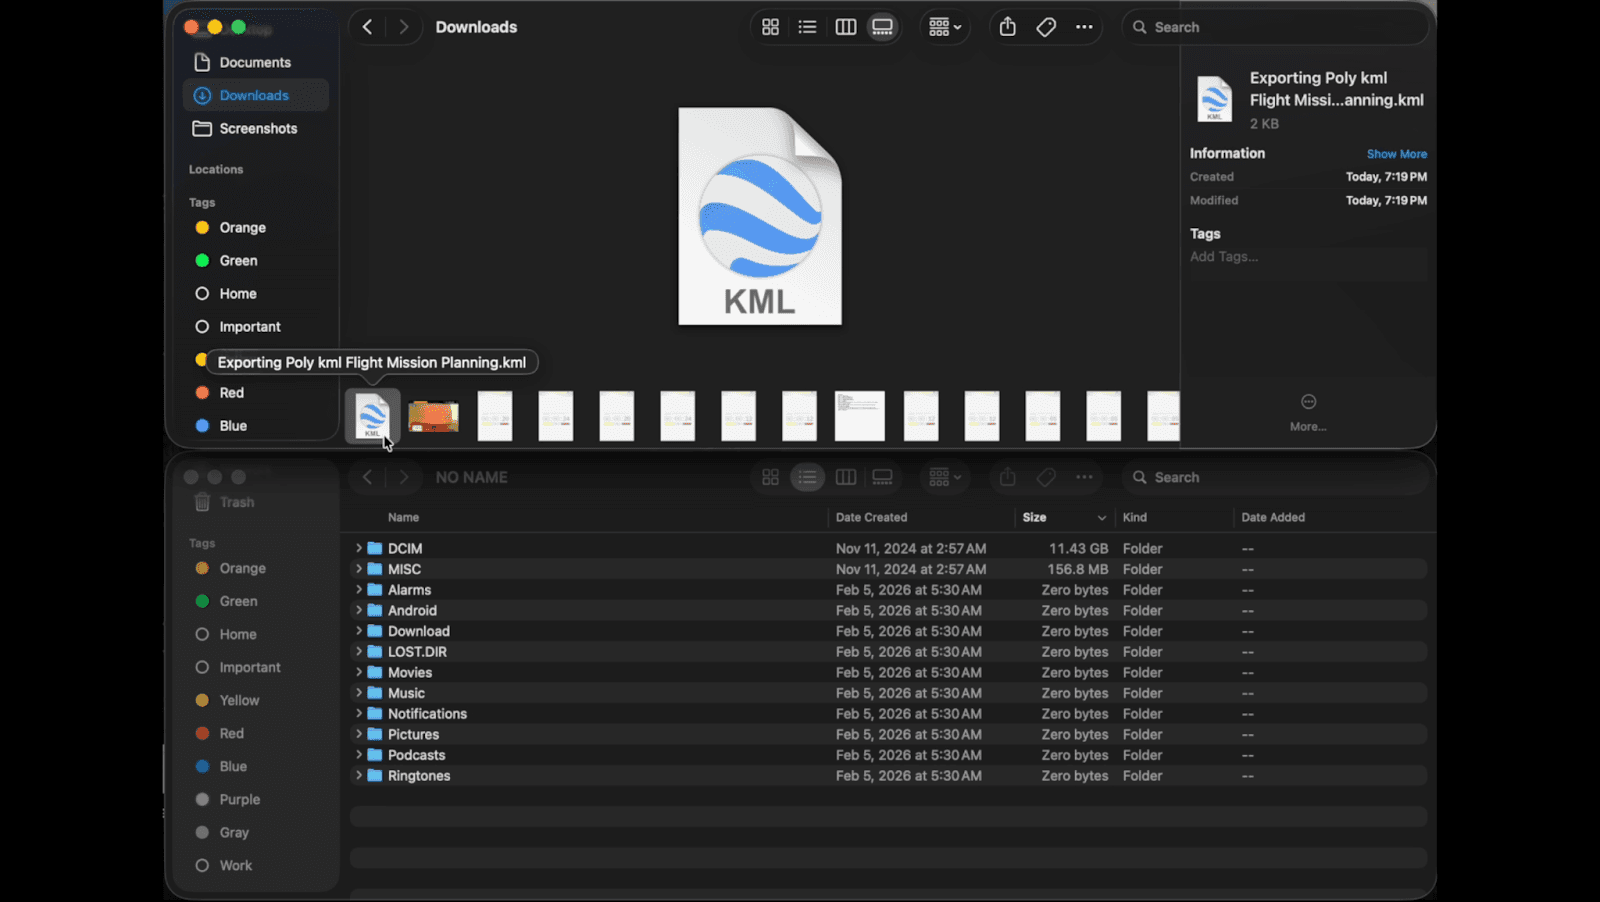
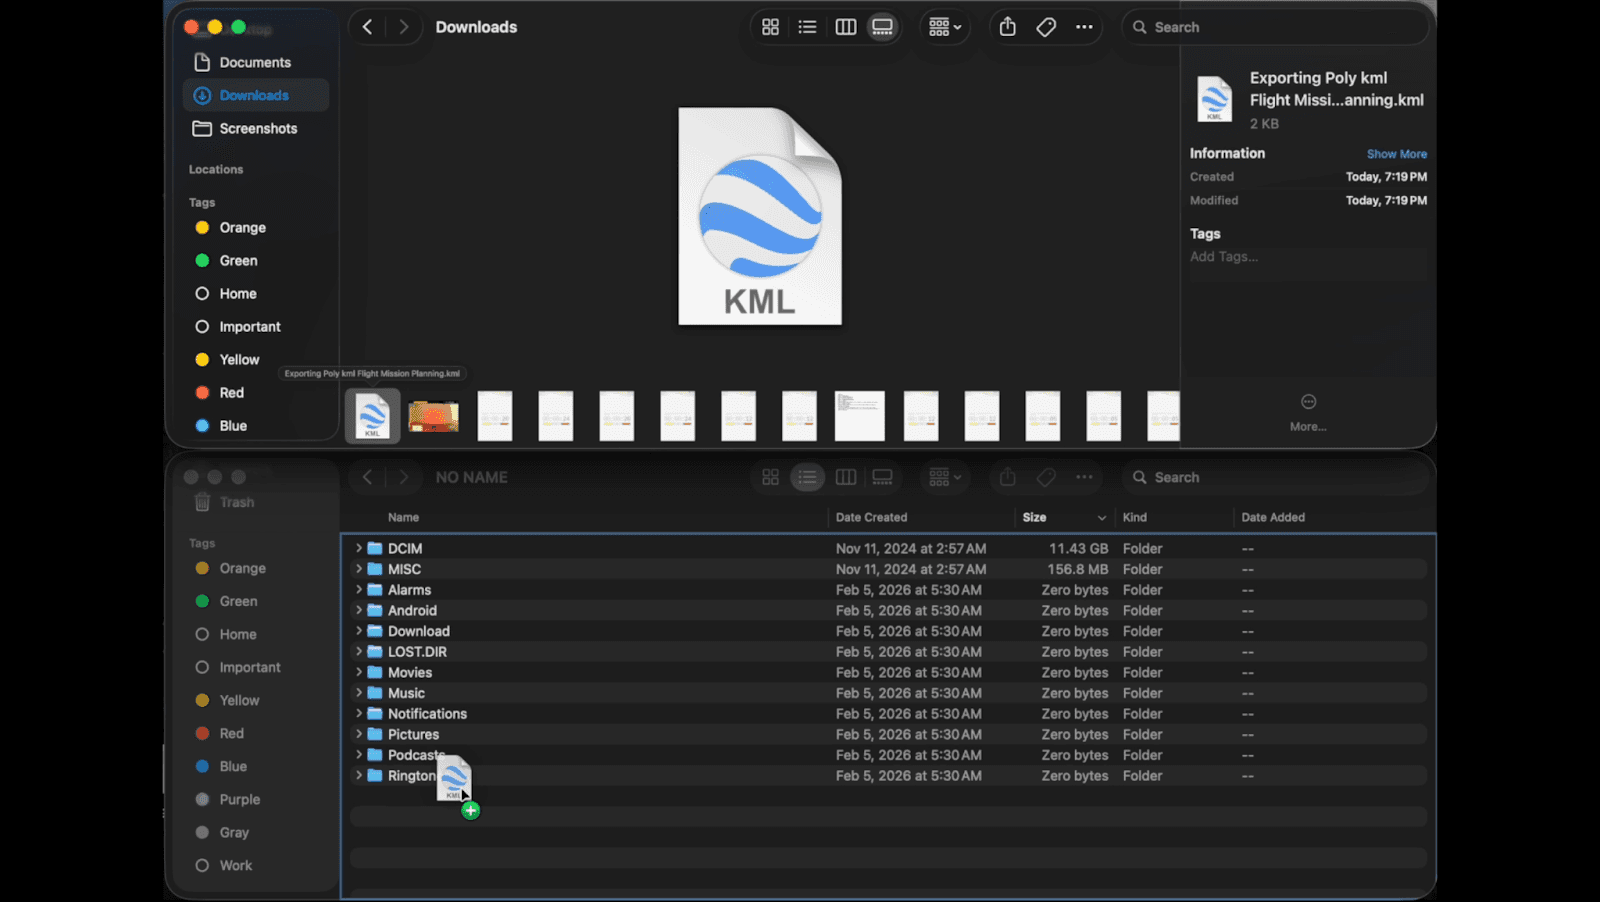
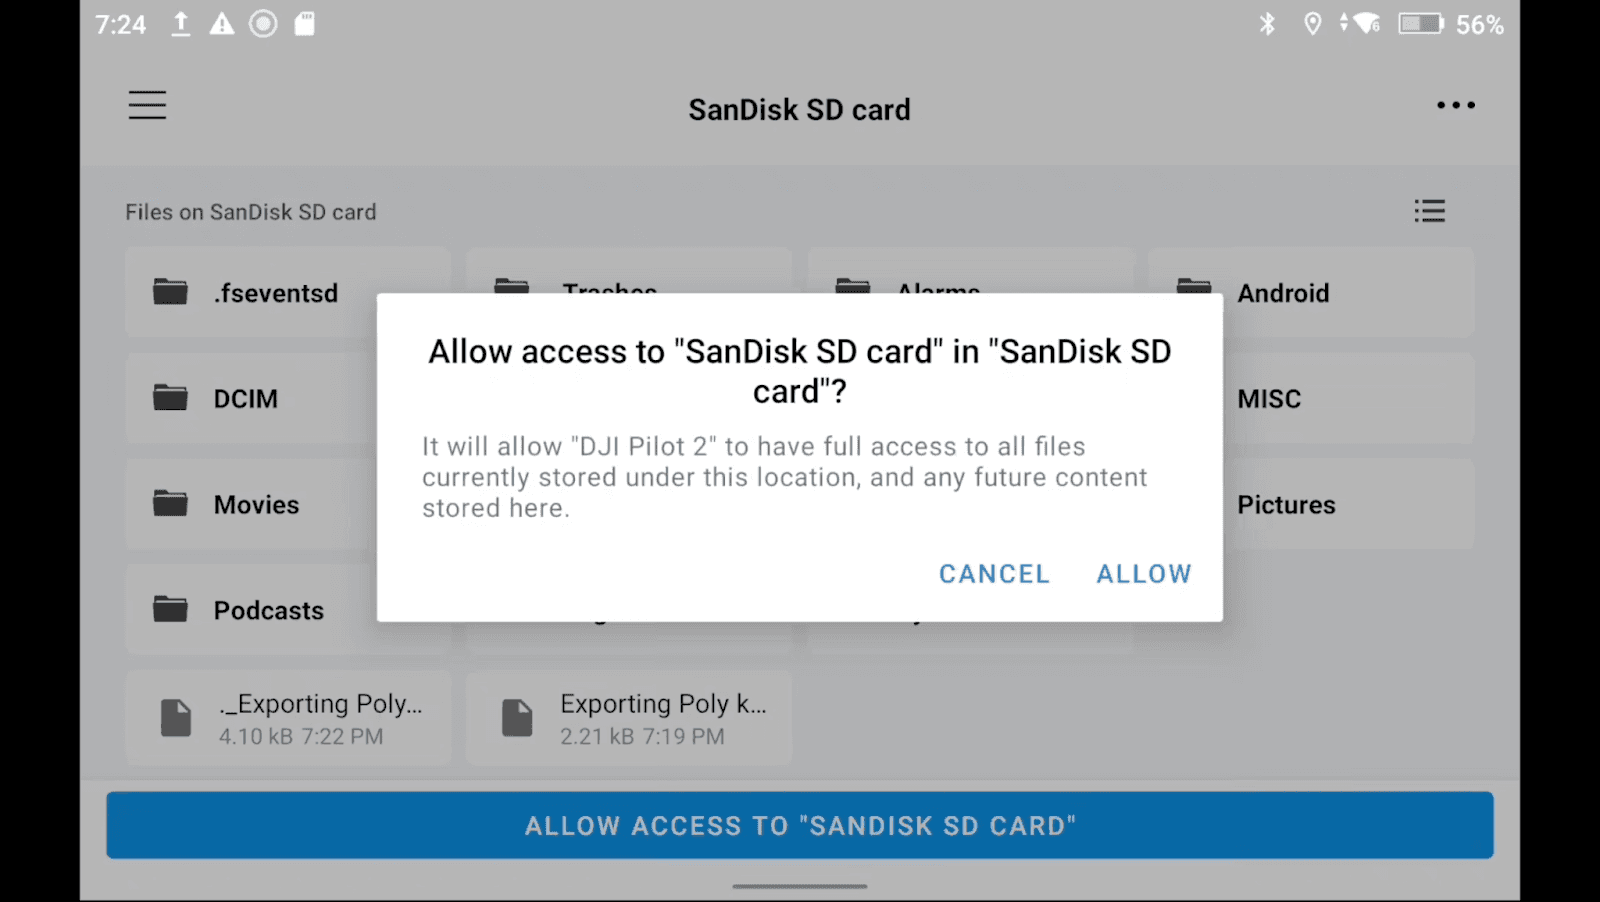
Within our Inspector Panel we will select the data tab and the export drop down. Now all we need to do is download our KML and copy and paste it to our Micro SD Card.

Importing Our Flight Mission (Polygon) to Our Controller
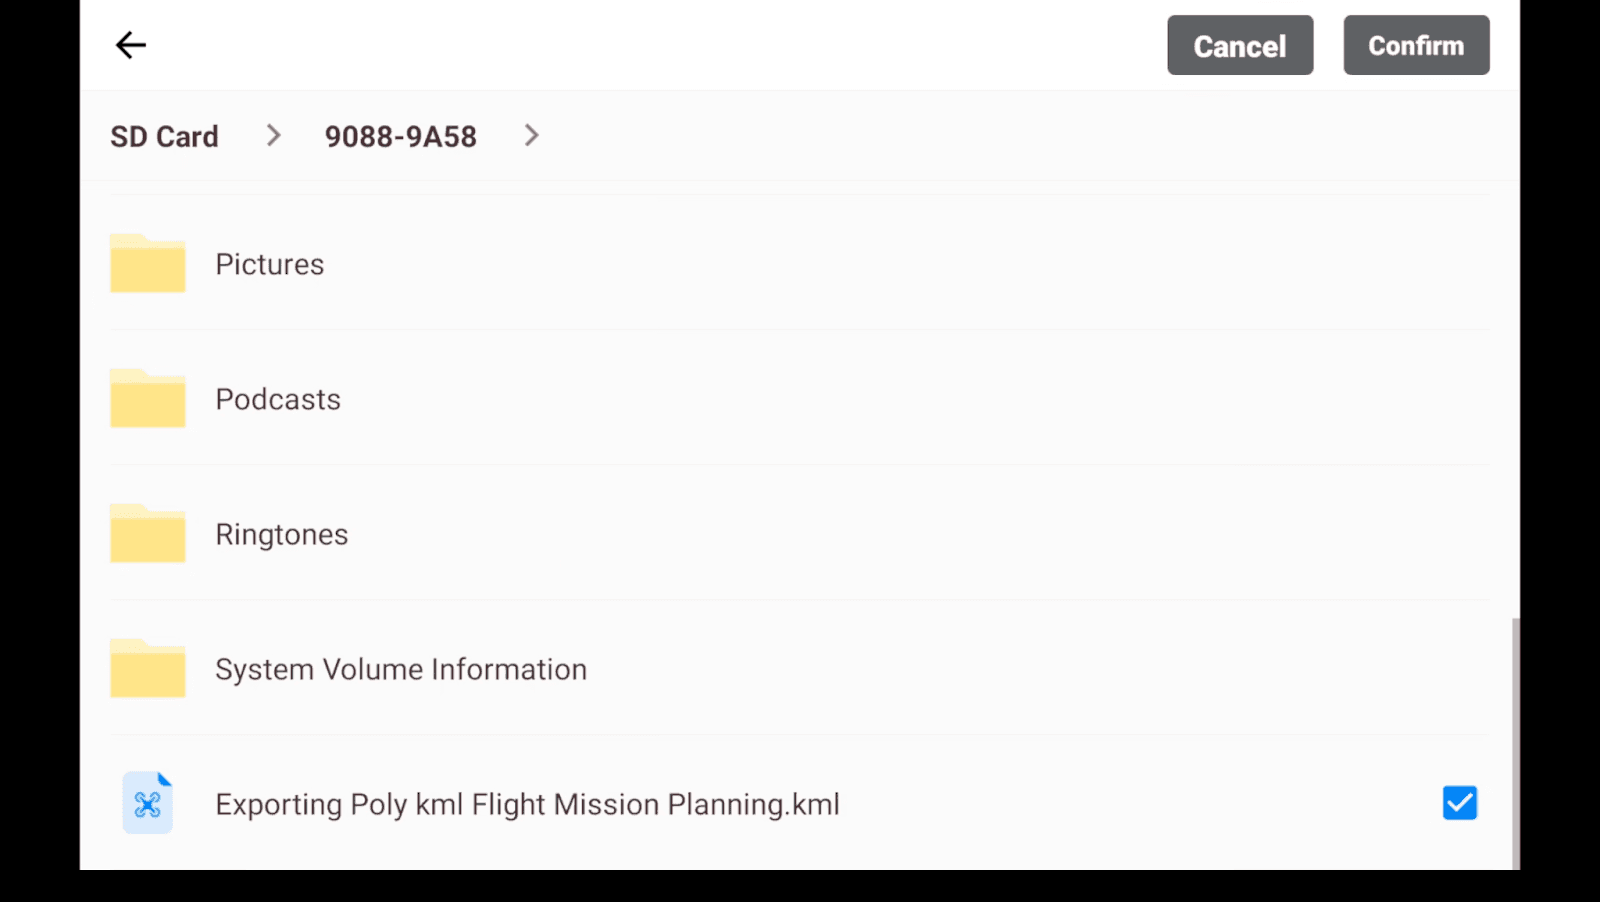
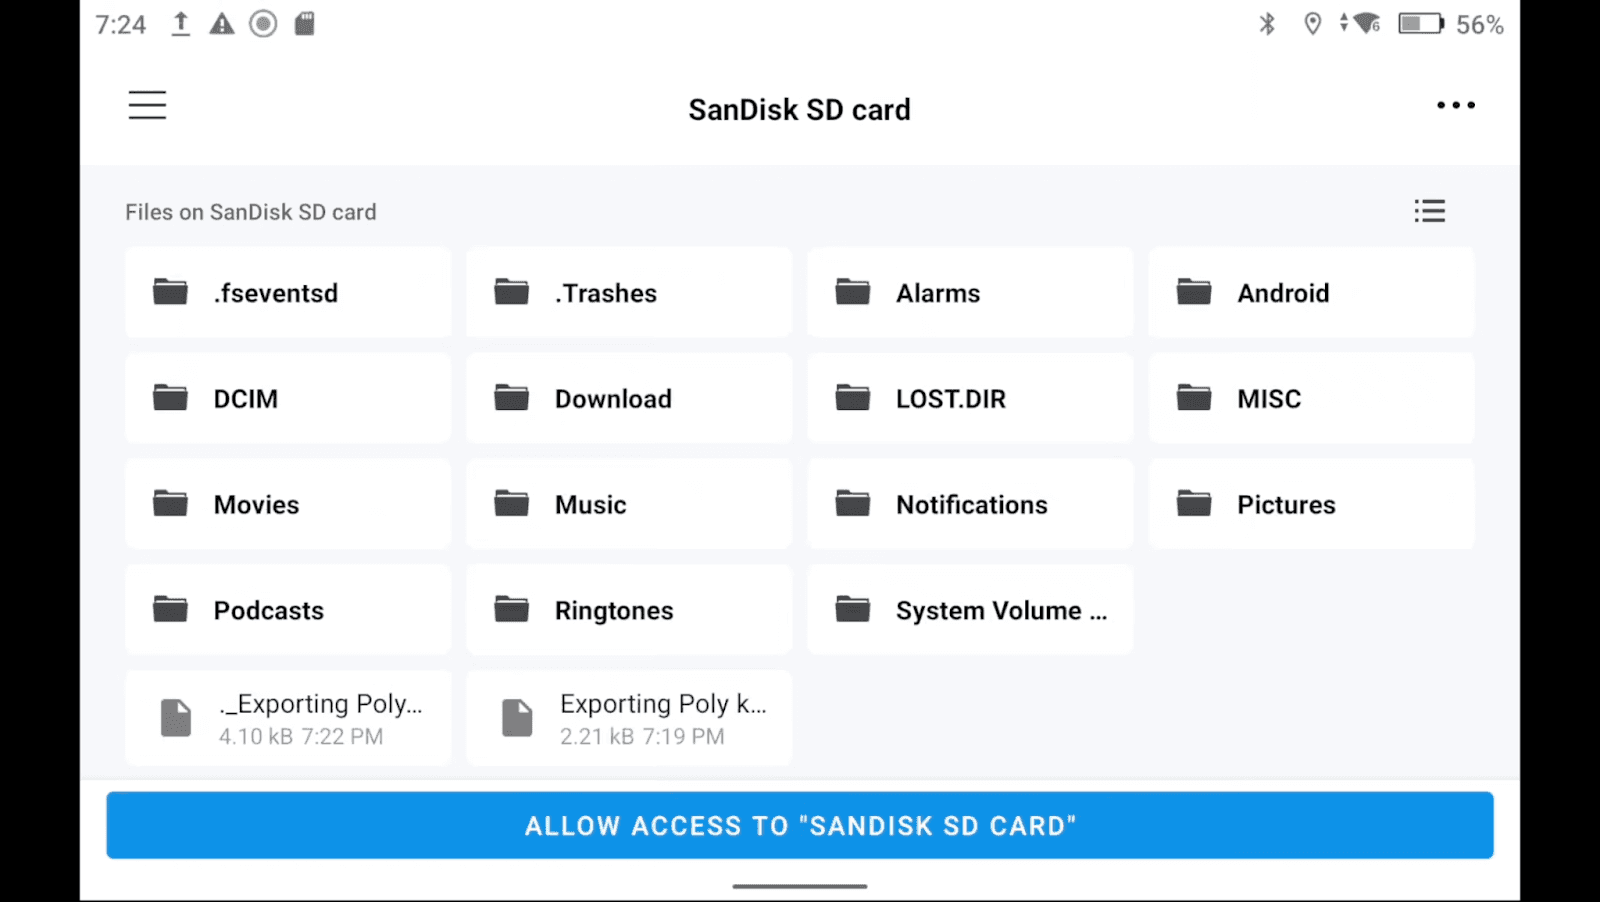
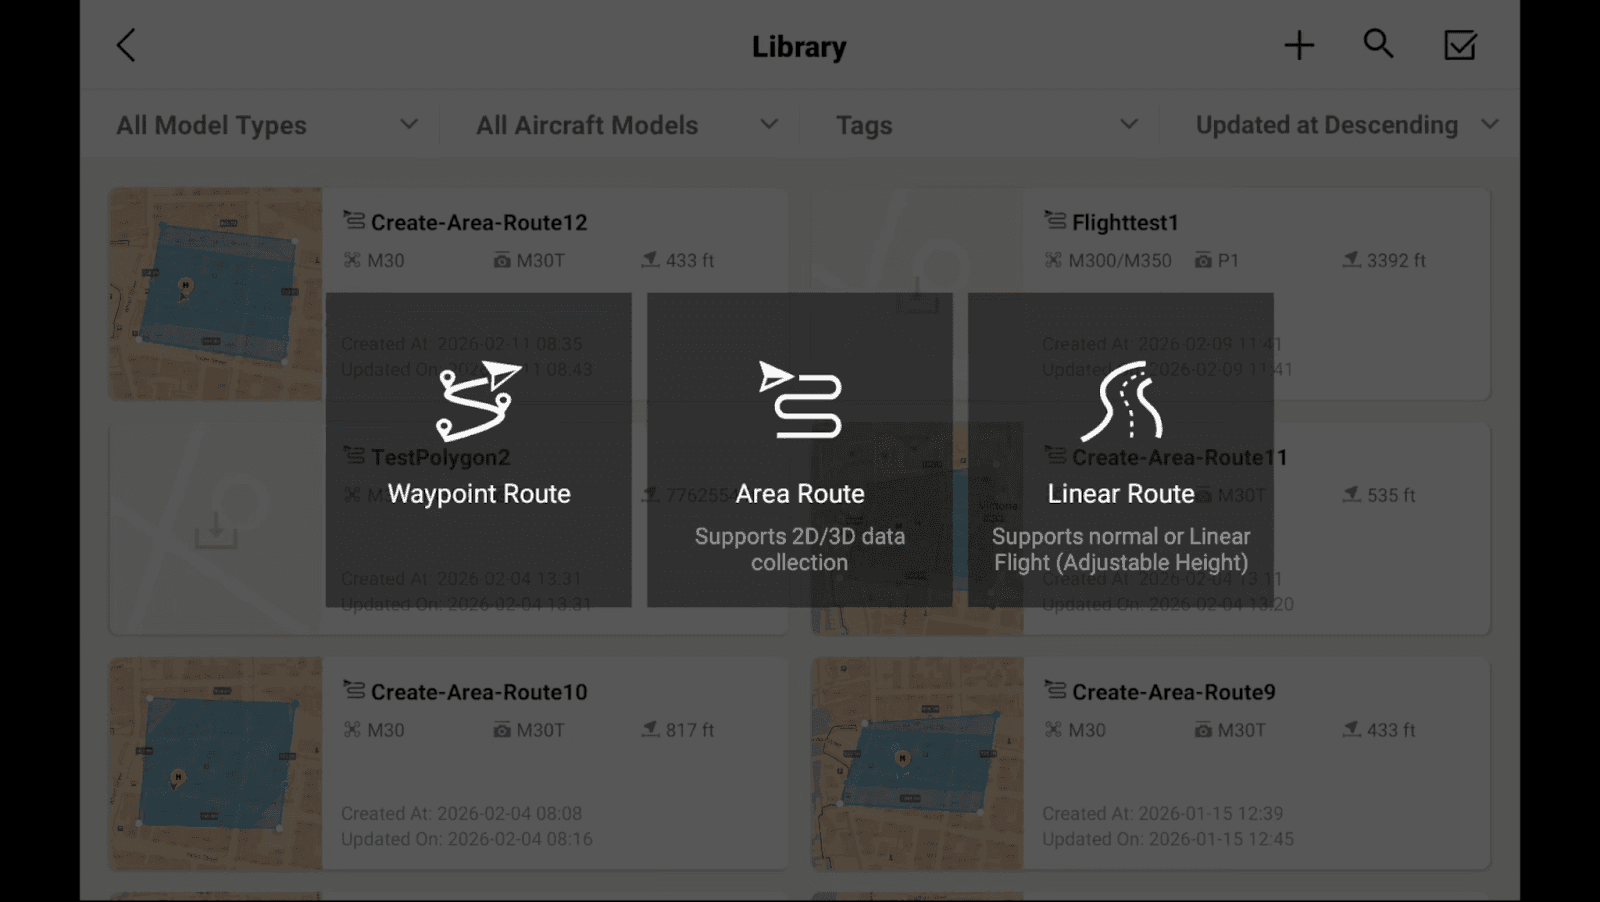
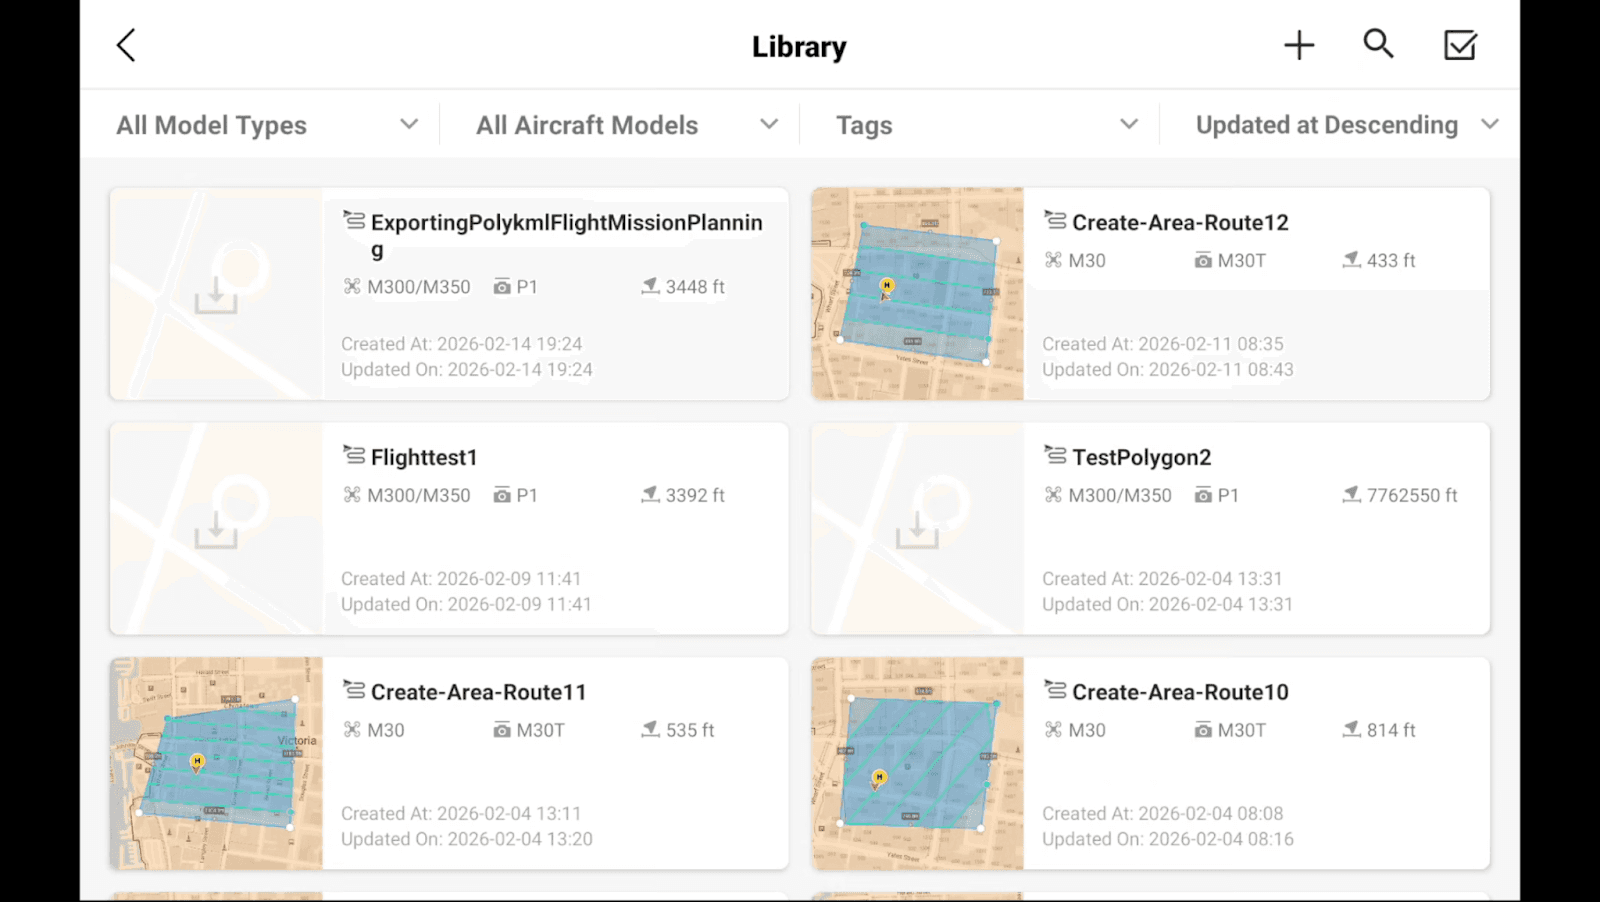
Once our SD Card is inserted into our controller and our DJI Flight 2 app is on the main screen we will select on Flight Routes. In the top right corner you will see a “+” Icon. When chosen a drop down will appear and we will select “Import Route”. You will see “Internal Storage” and a random naming convention (typically an array of numbers which is our SD Card). We will select the numbers (SD Card). If you scroll to the bottom you will see the Polygon you've created within Nova with its attributed name. Select the box on the left right side of the screen then select allow twice. Lastly select Area Route to generate your Mission within Flight Routes.

Accessing Basic and Advanced Settings
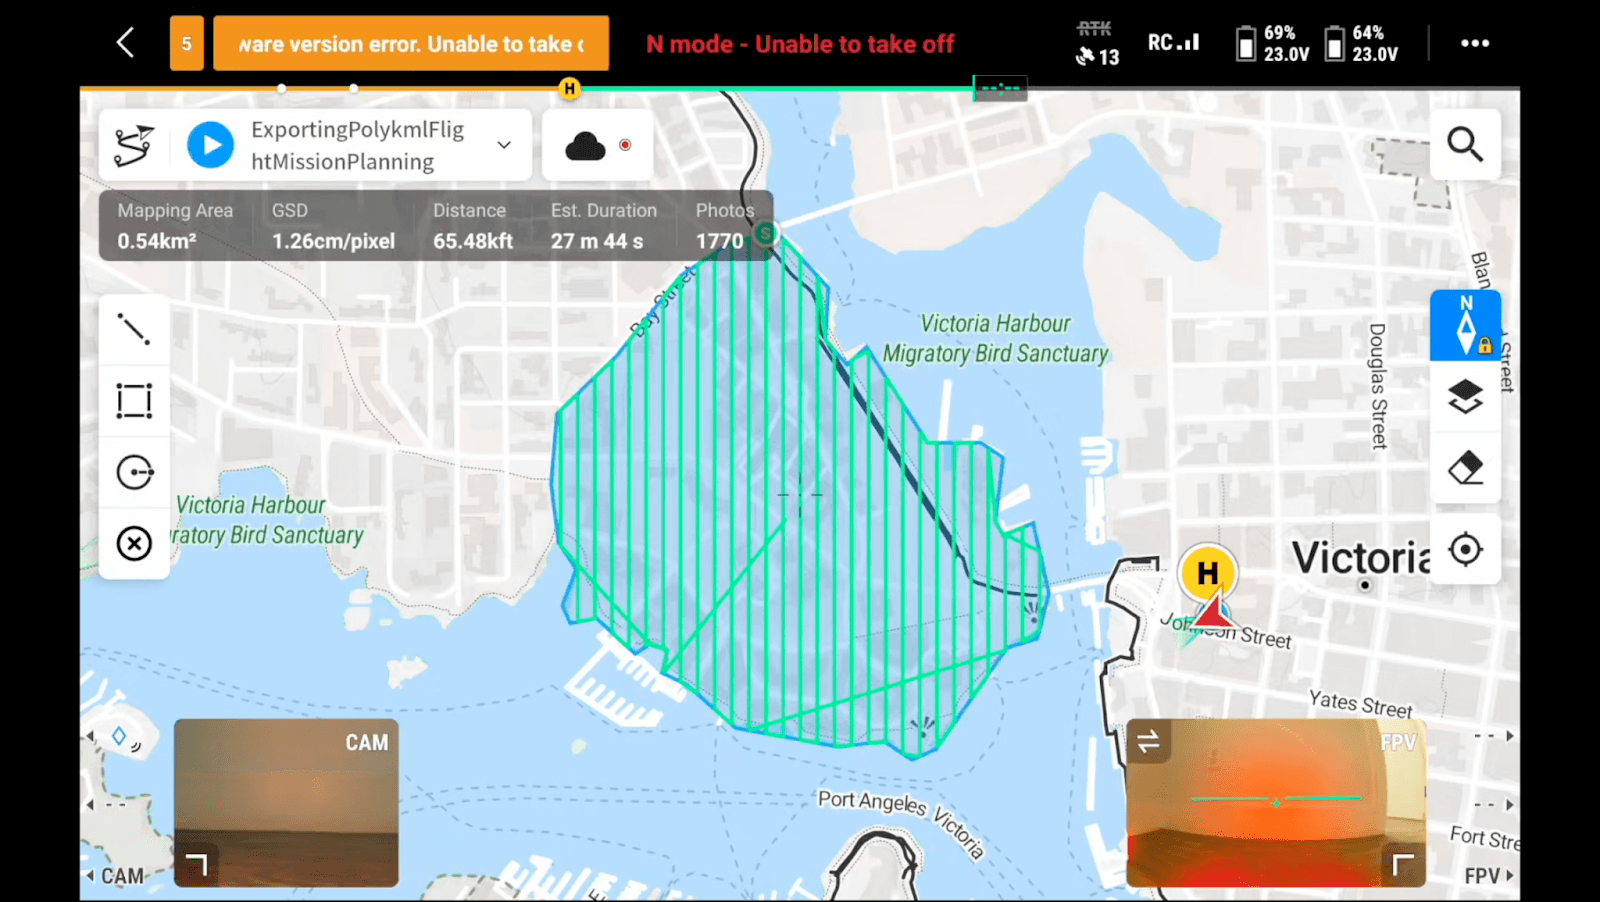
By selecting our mission, it will bring us to our “Flight Route View”. To the right of our Mission name in the top left of the screen you should see an arrow pointing down. We will select that arrow then the Pencil Icon to the right of our Flight Mission Name to bring up the Basic Settings.
Start for free today.
Craft the future. Respond to the present.