Back to blog
Mar 16, 2026
Tips and Tricks
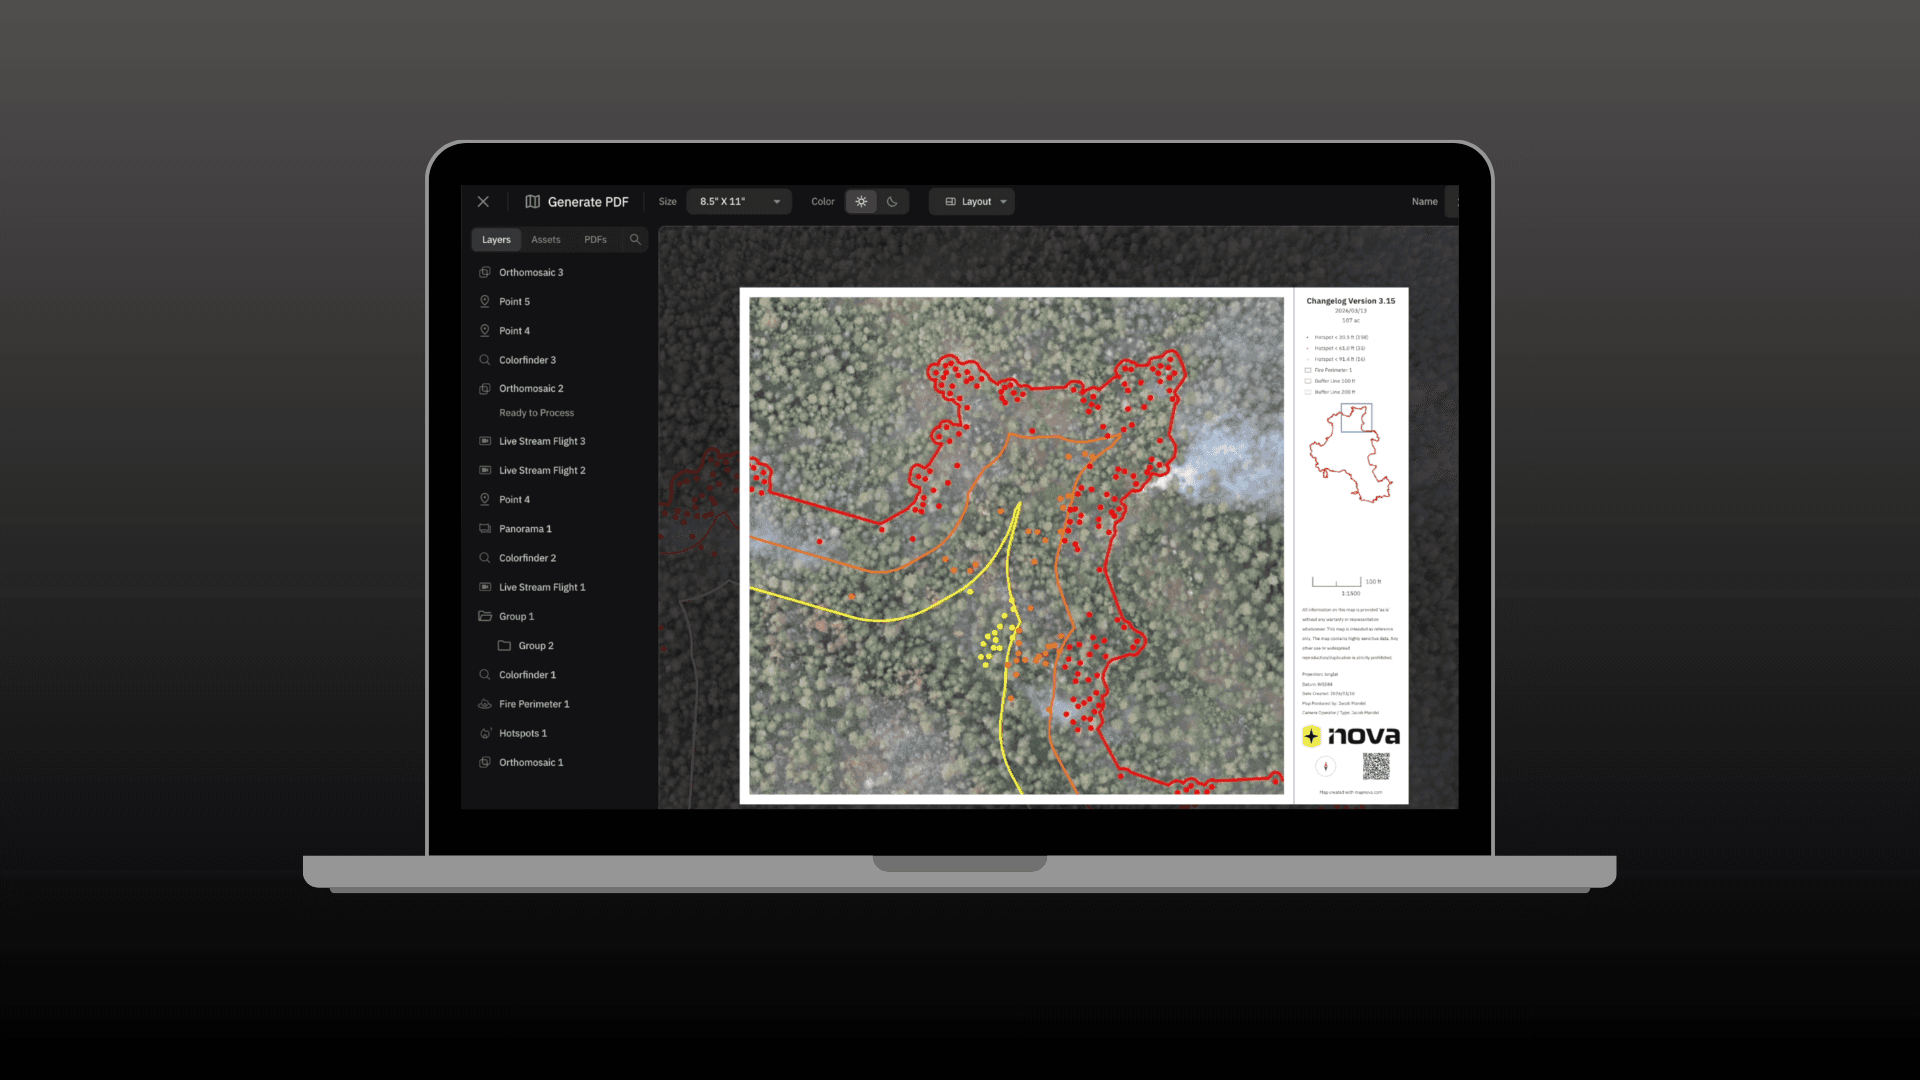
When it comes to creating a georeferenced PDF Map that can be used by field crews to track their location offline using what you’ve created in Nova, it's as easy as clicking a single button.
In today's JAJ I'm going to be covering the Elements Tab within the PDF tool to show you how easy it is to level up your map making. Why is this important you may be wondering? It's important because it's not just a map you're creating, it's an official document used on your incident to aid personnel in locating positions and understanding proper objectives.
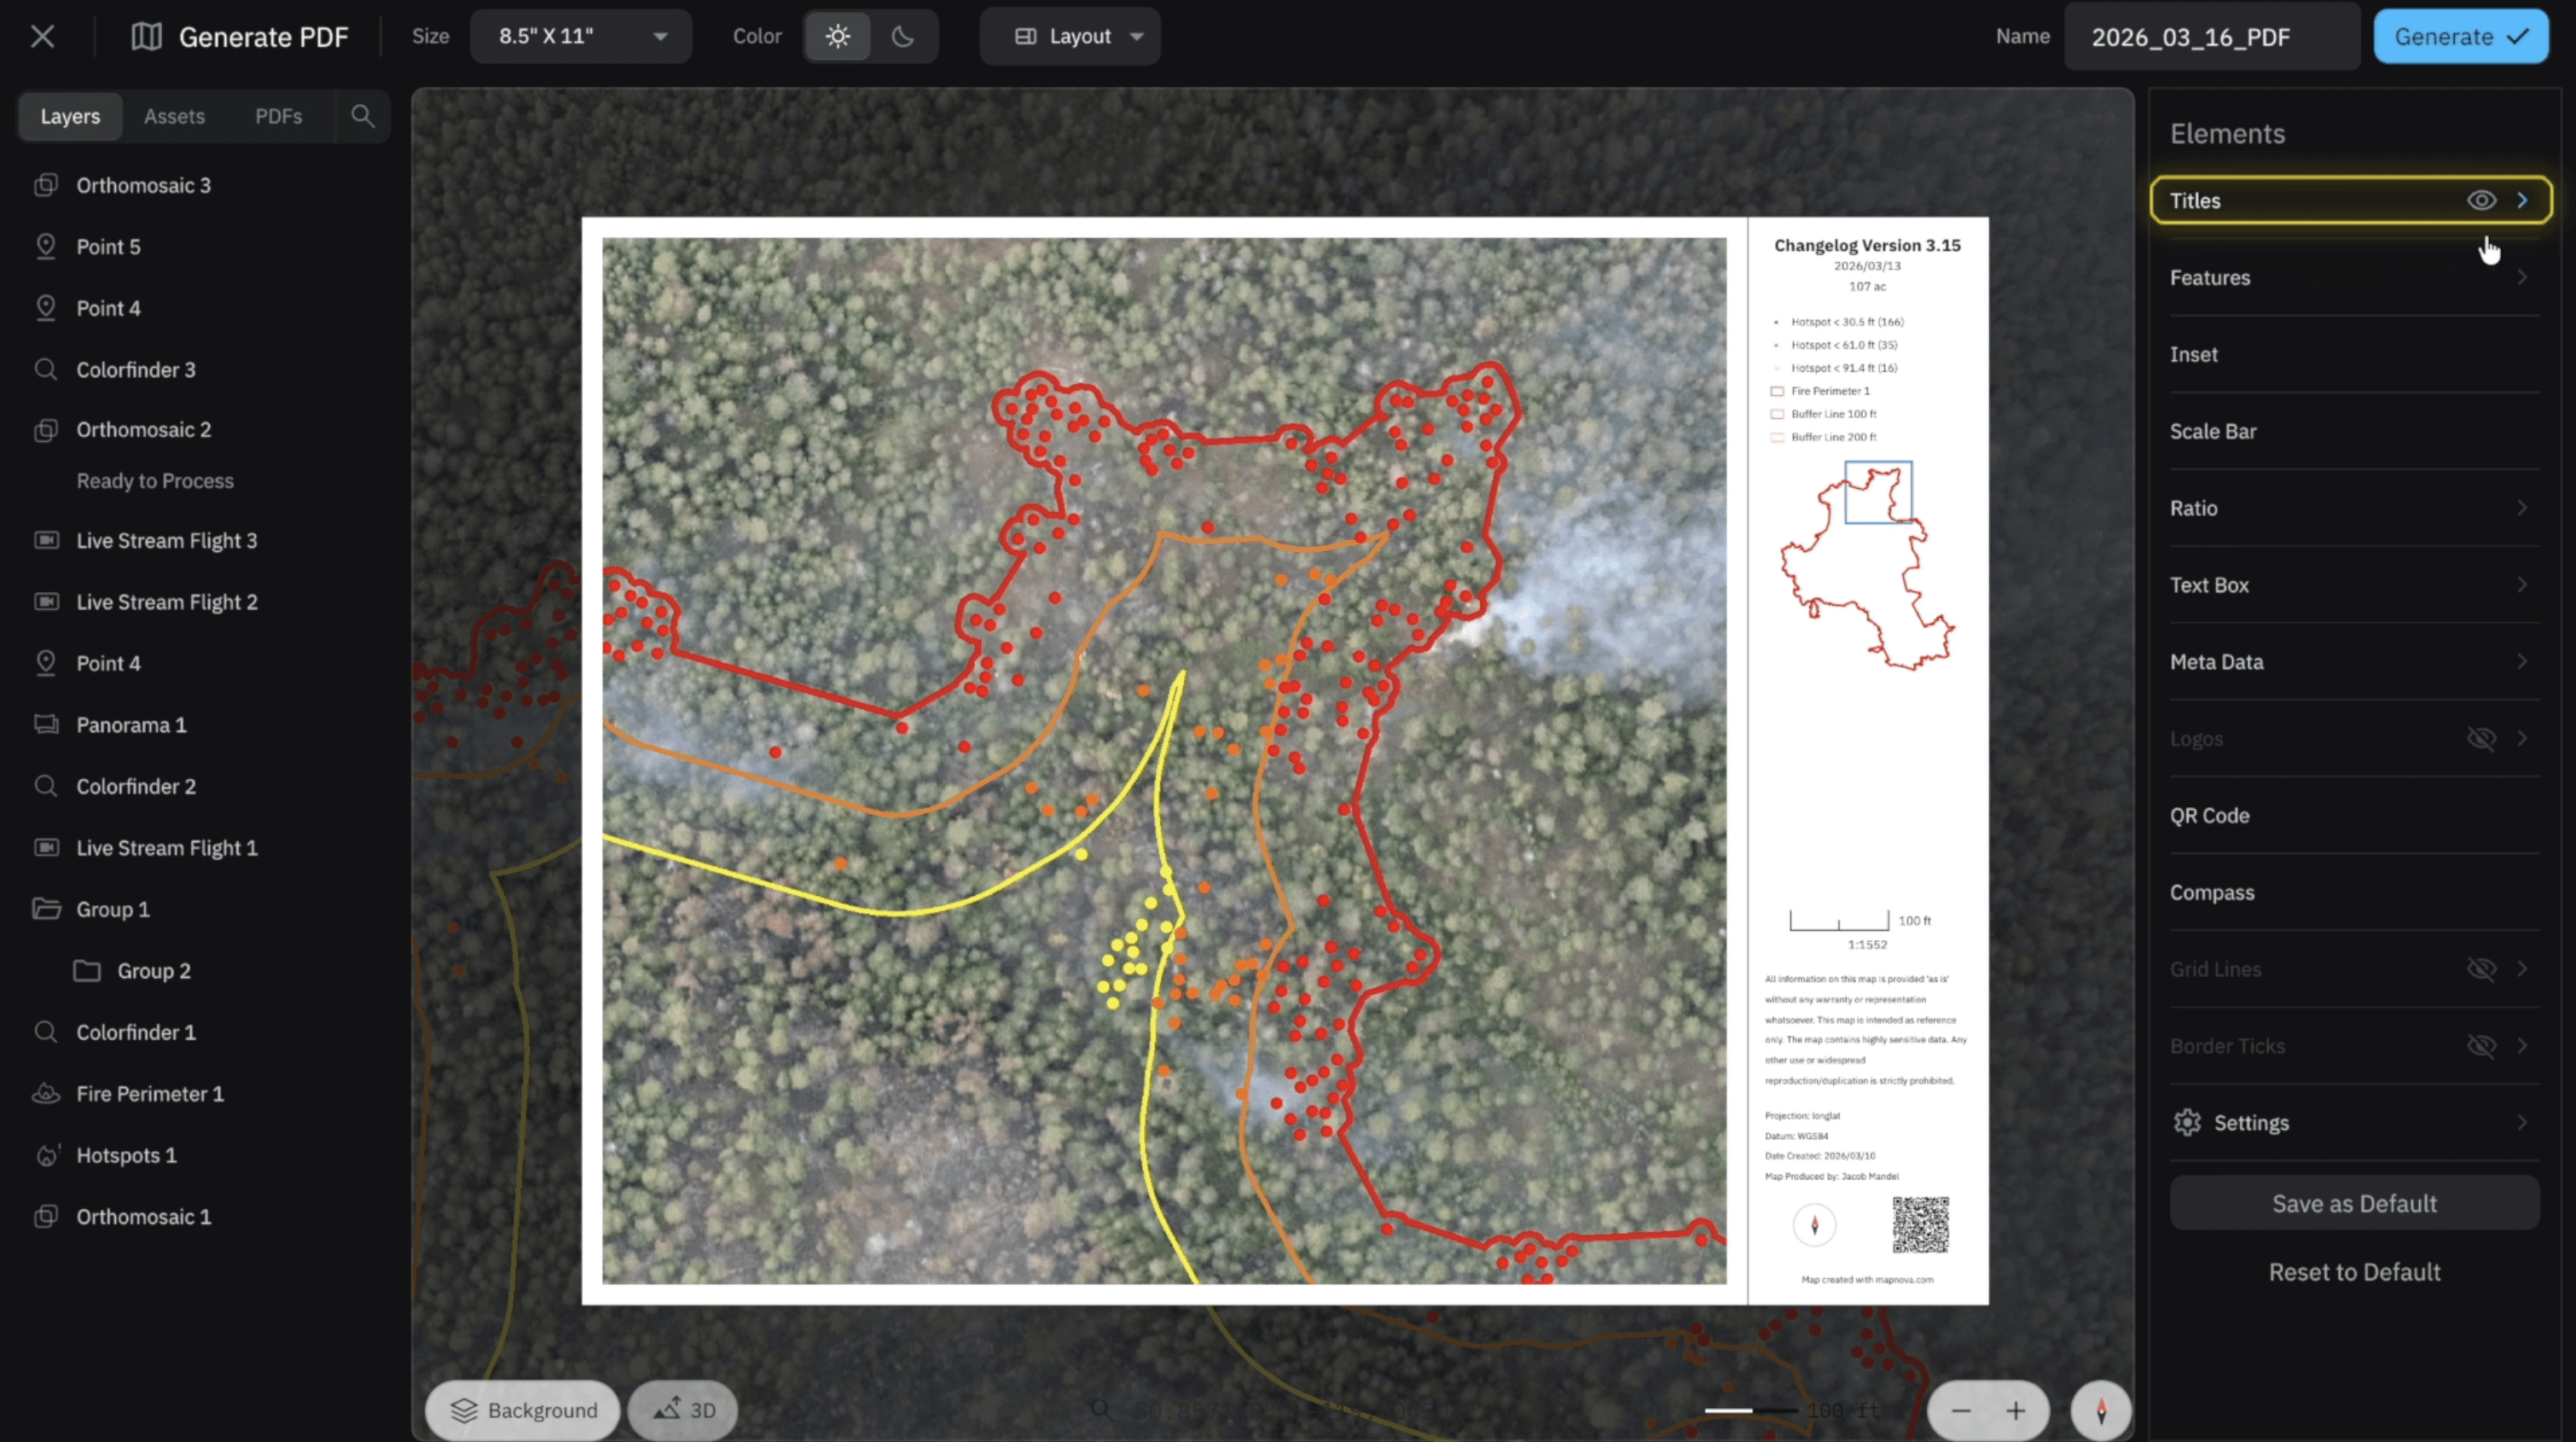
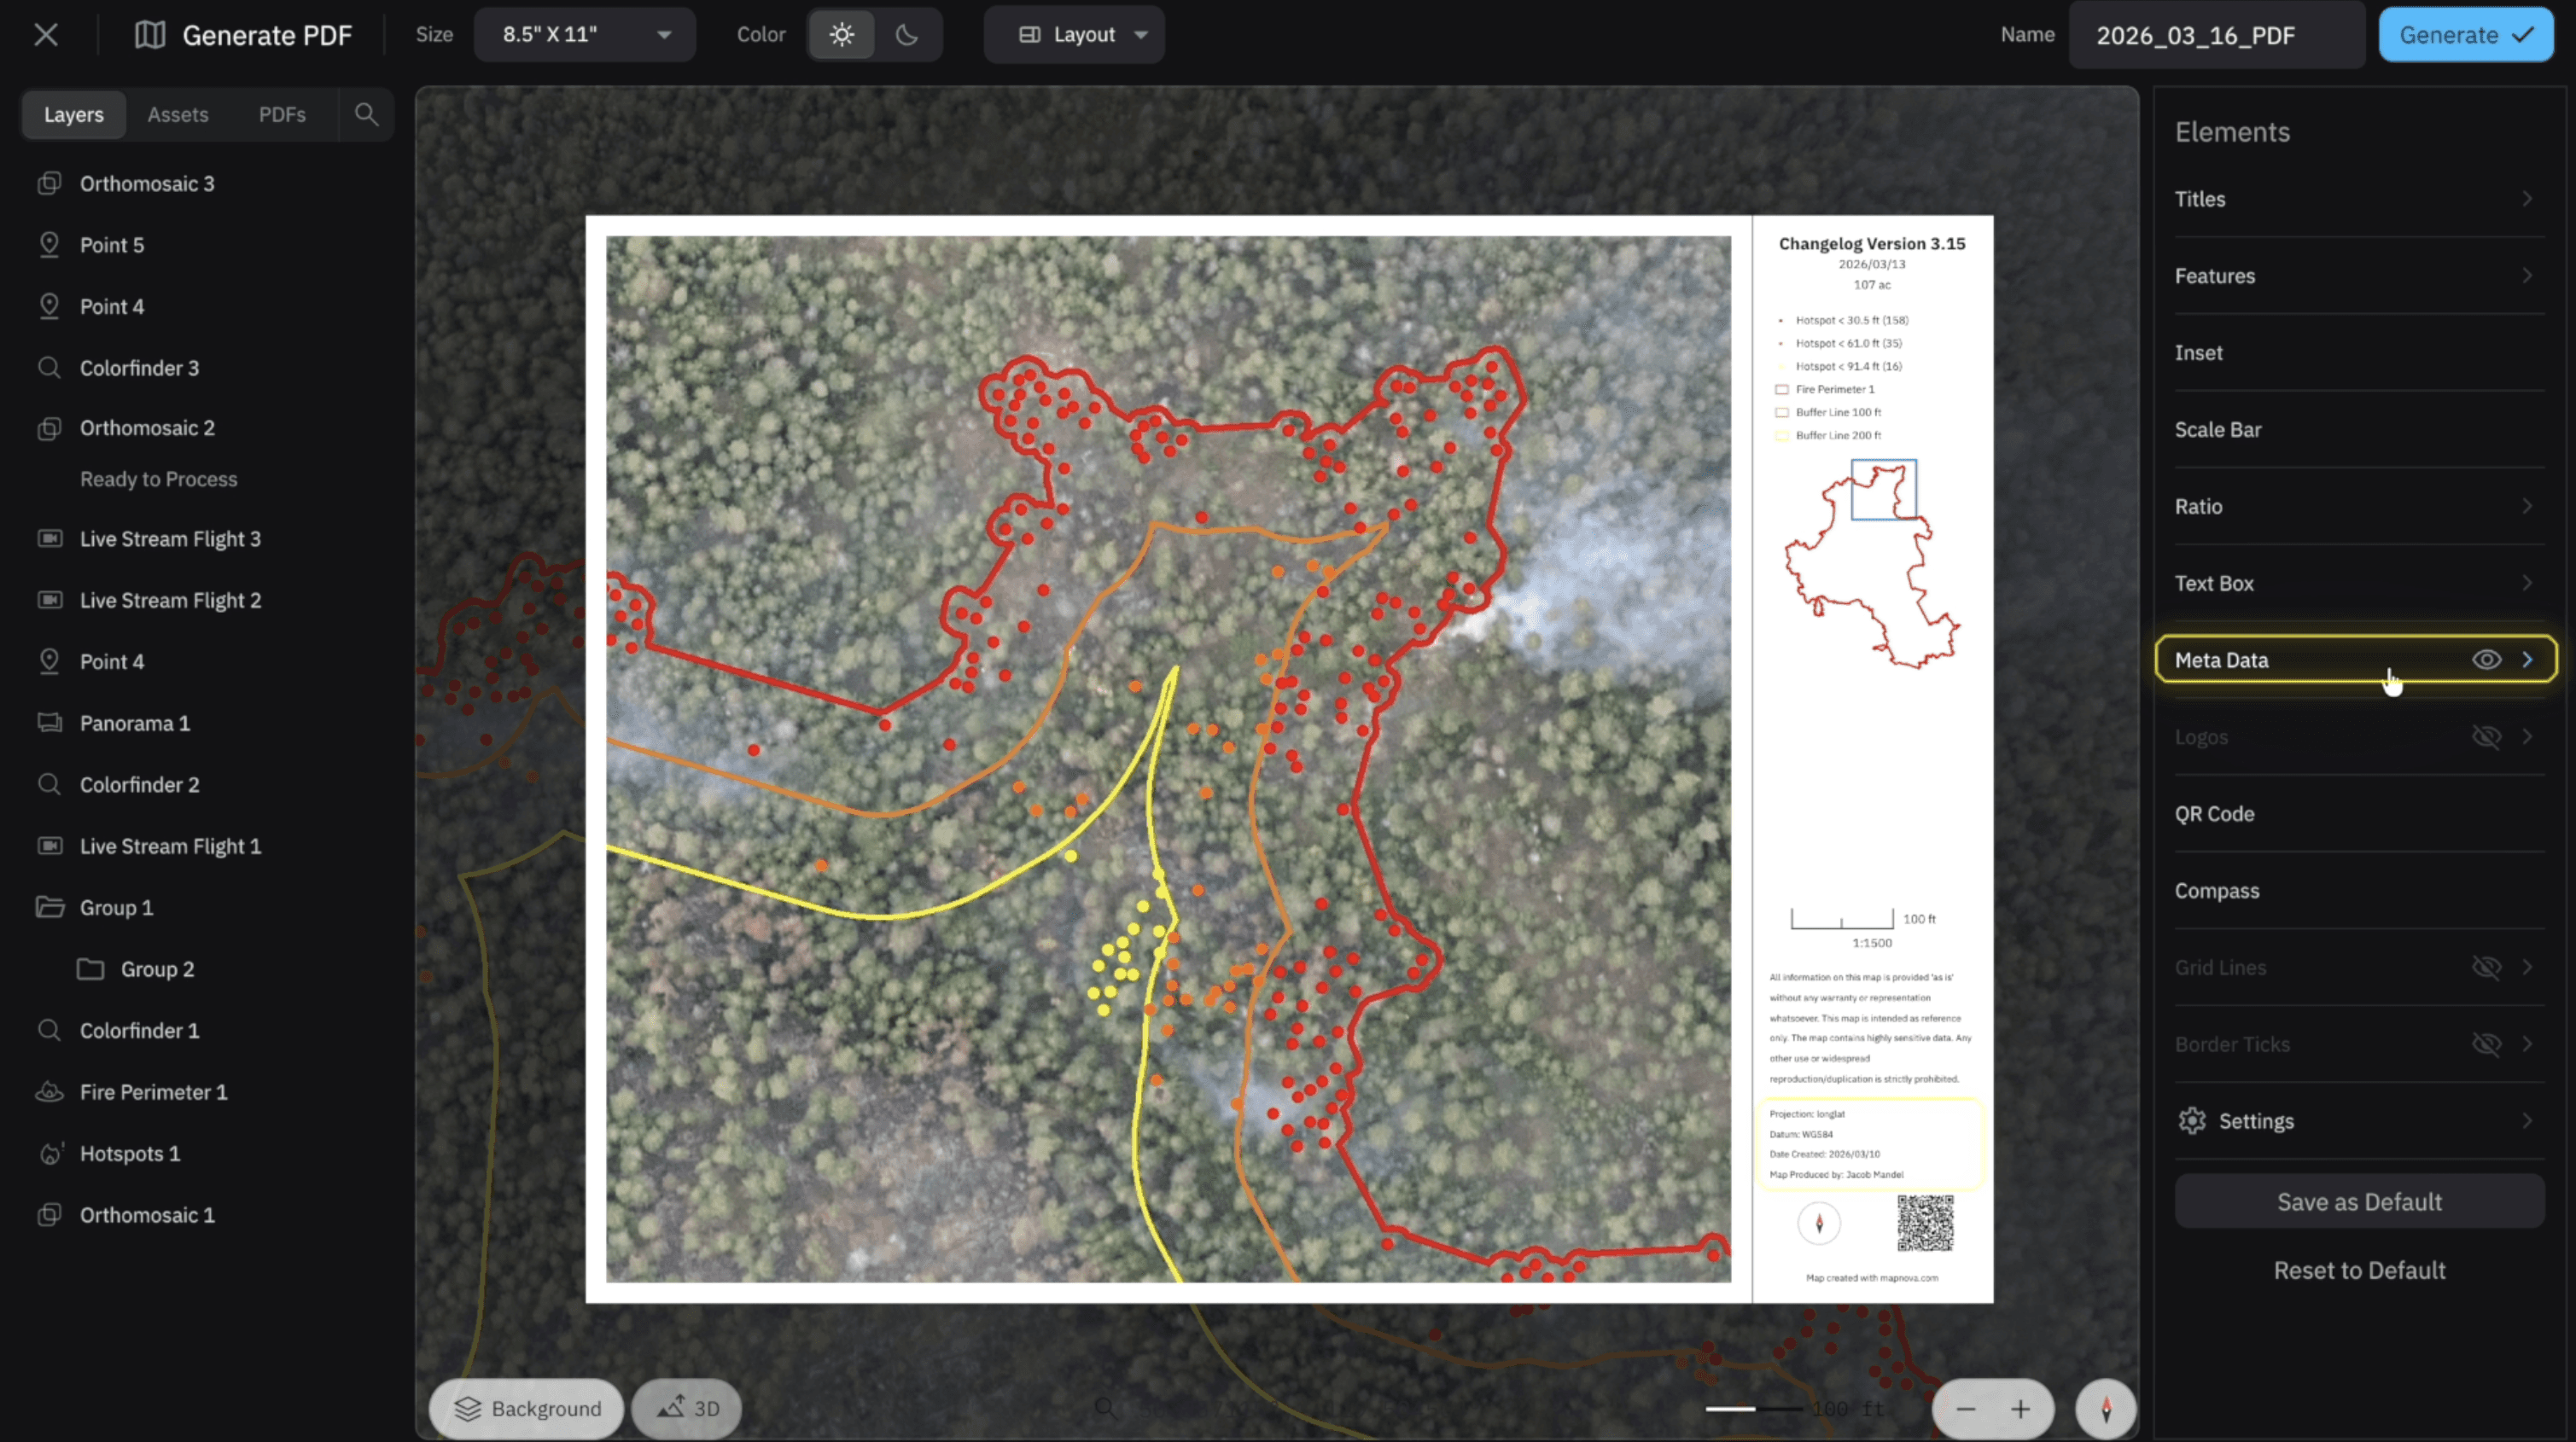
Quick Tips for Each Element
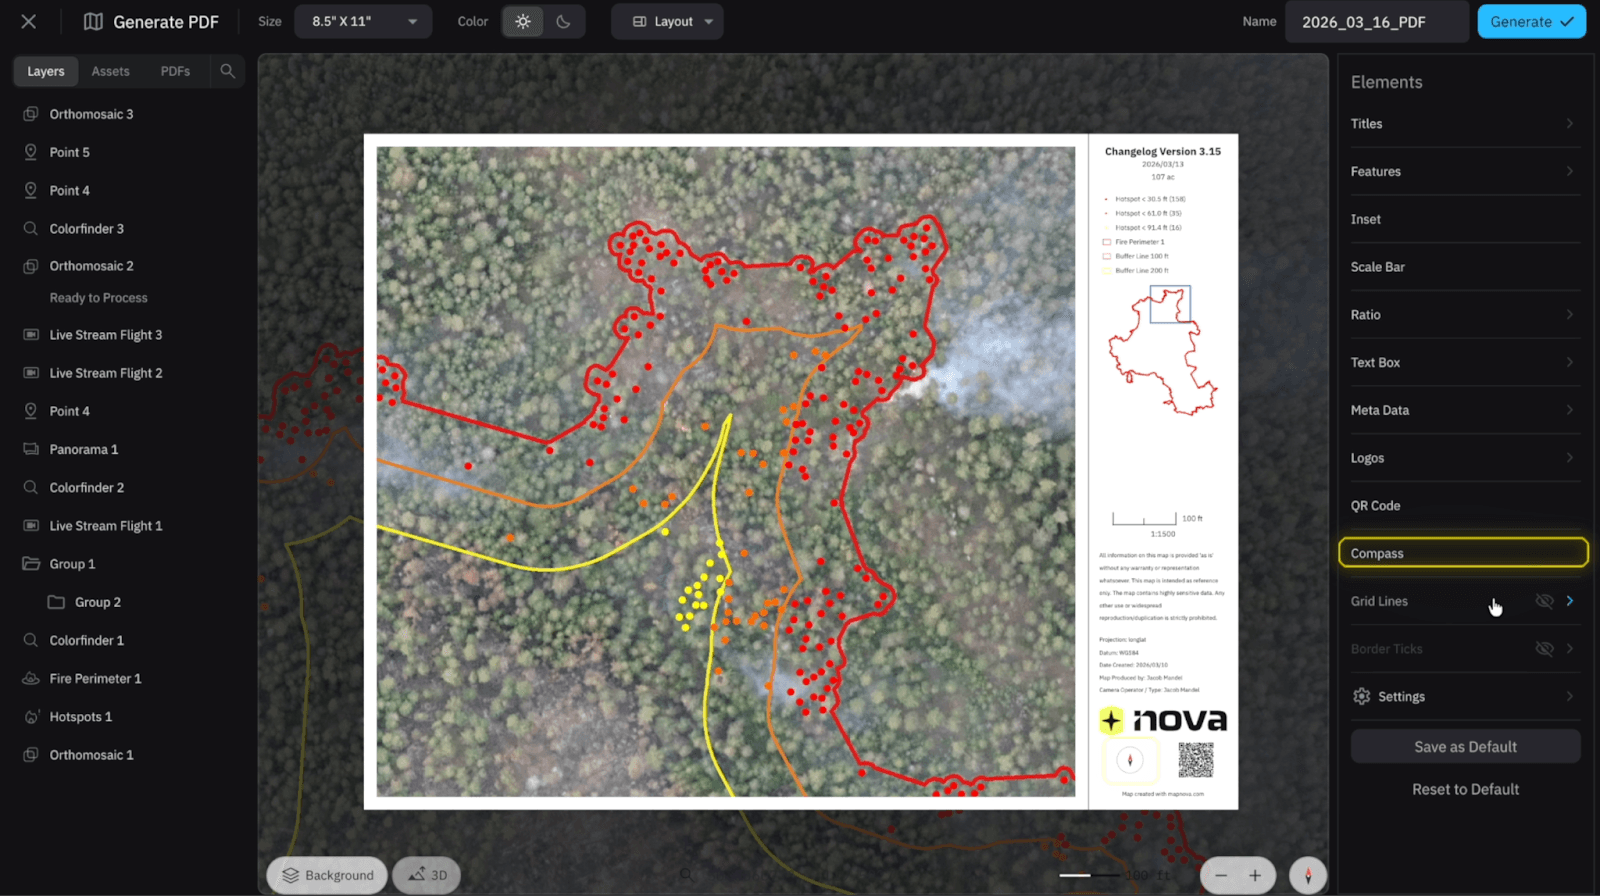
The first thing I will mention is that any Element that has an arrow to the right of it (>) notifies you that you can adjust that element's features. If you want to remove an element from your PDF Select the Eye icon when you place your cursor over the element's name.


Breaking Down the Elements within Nova
Titles
When we select on the Titles element we can adjust the name of the Title, Subtitle and Date. I usually put in the incident name followed by the division of the fire I'm working on (i.e. Alpha, Bravo, Charlie, etc.)

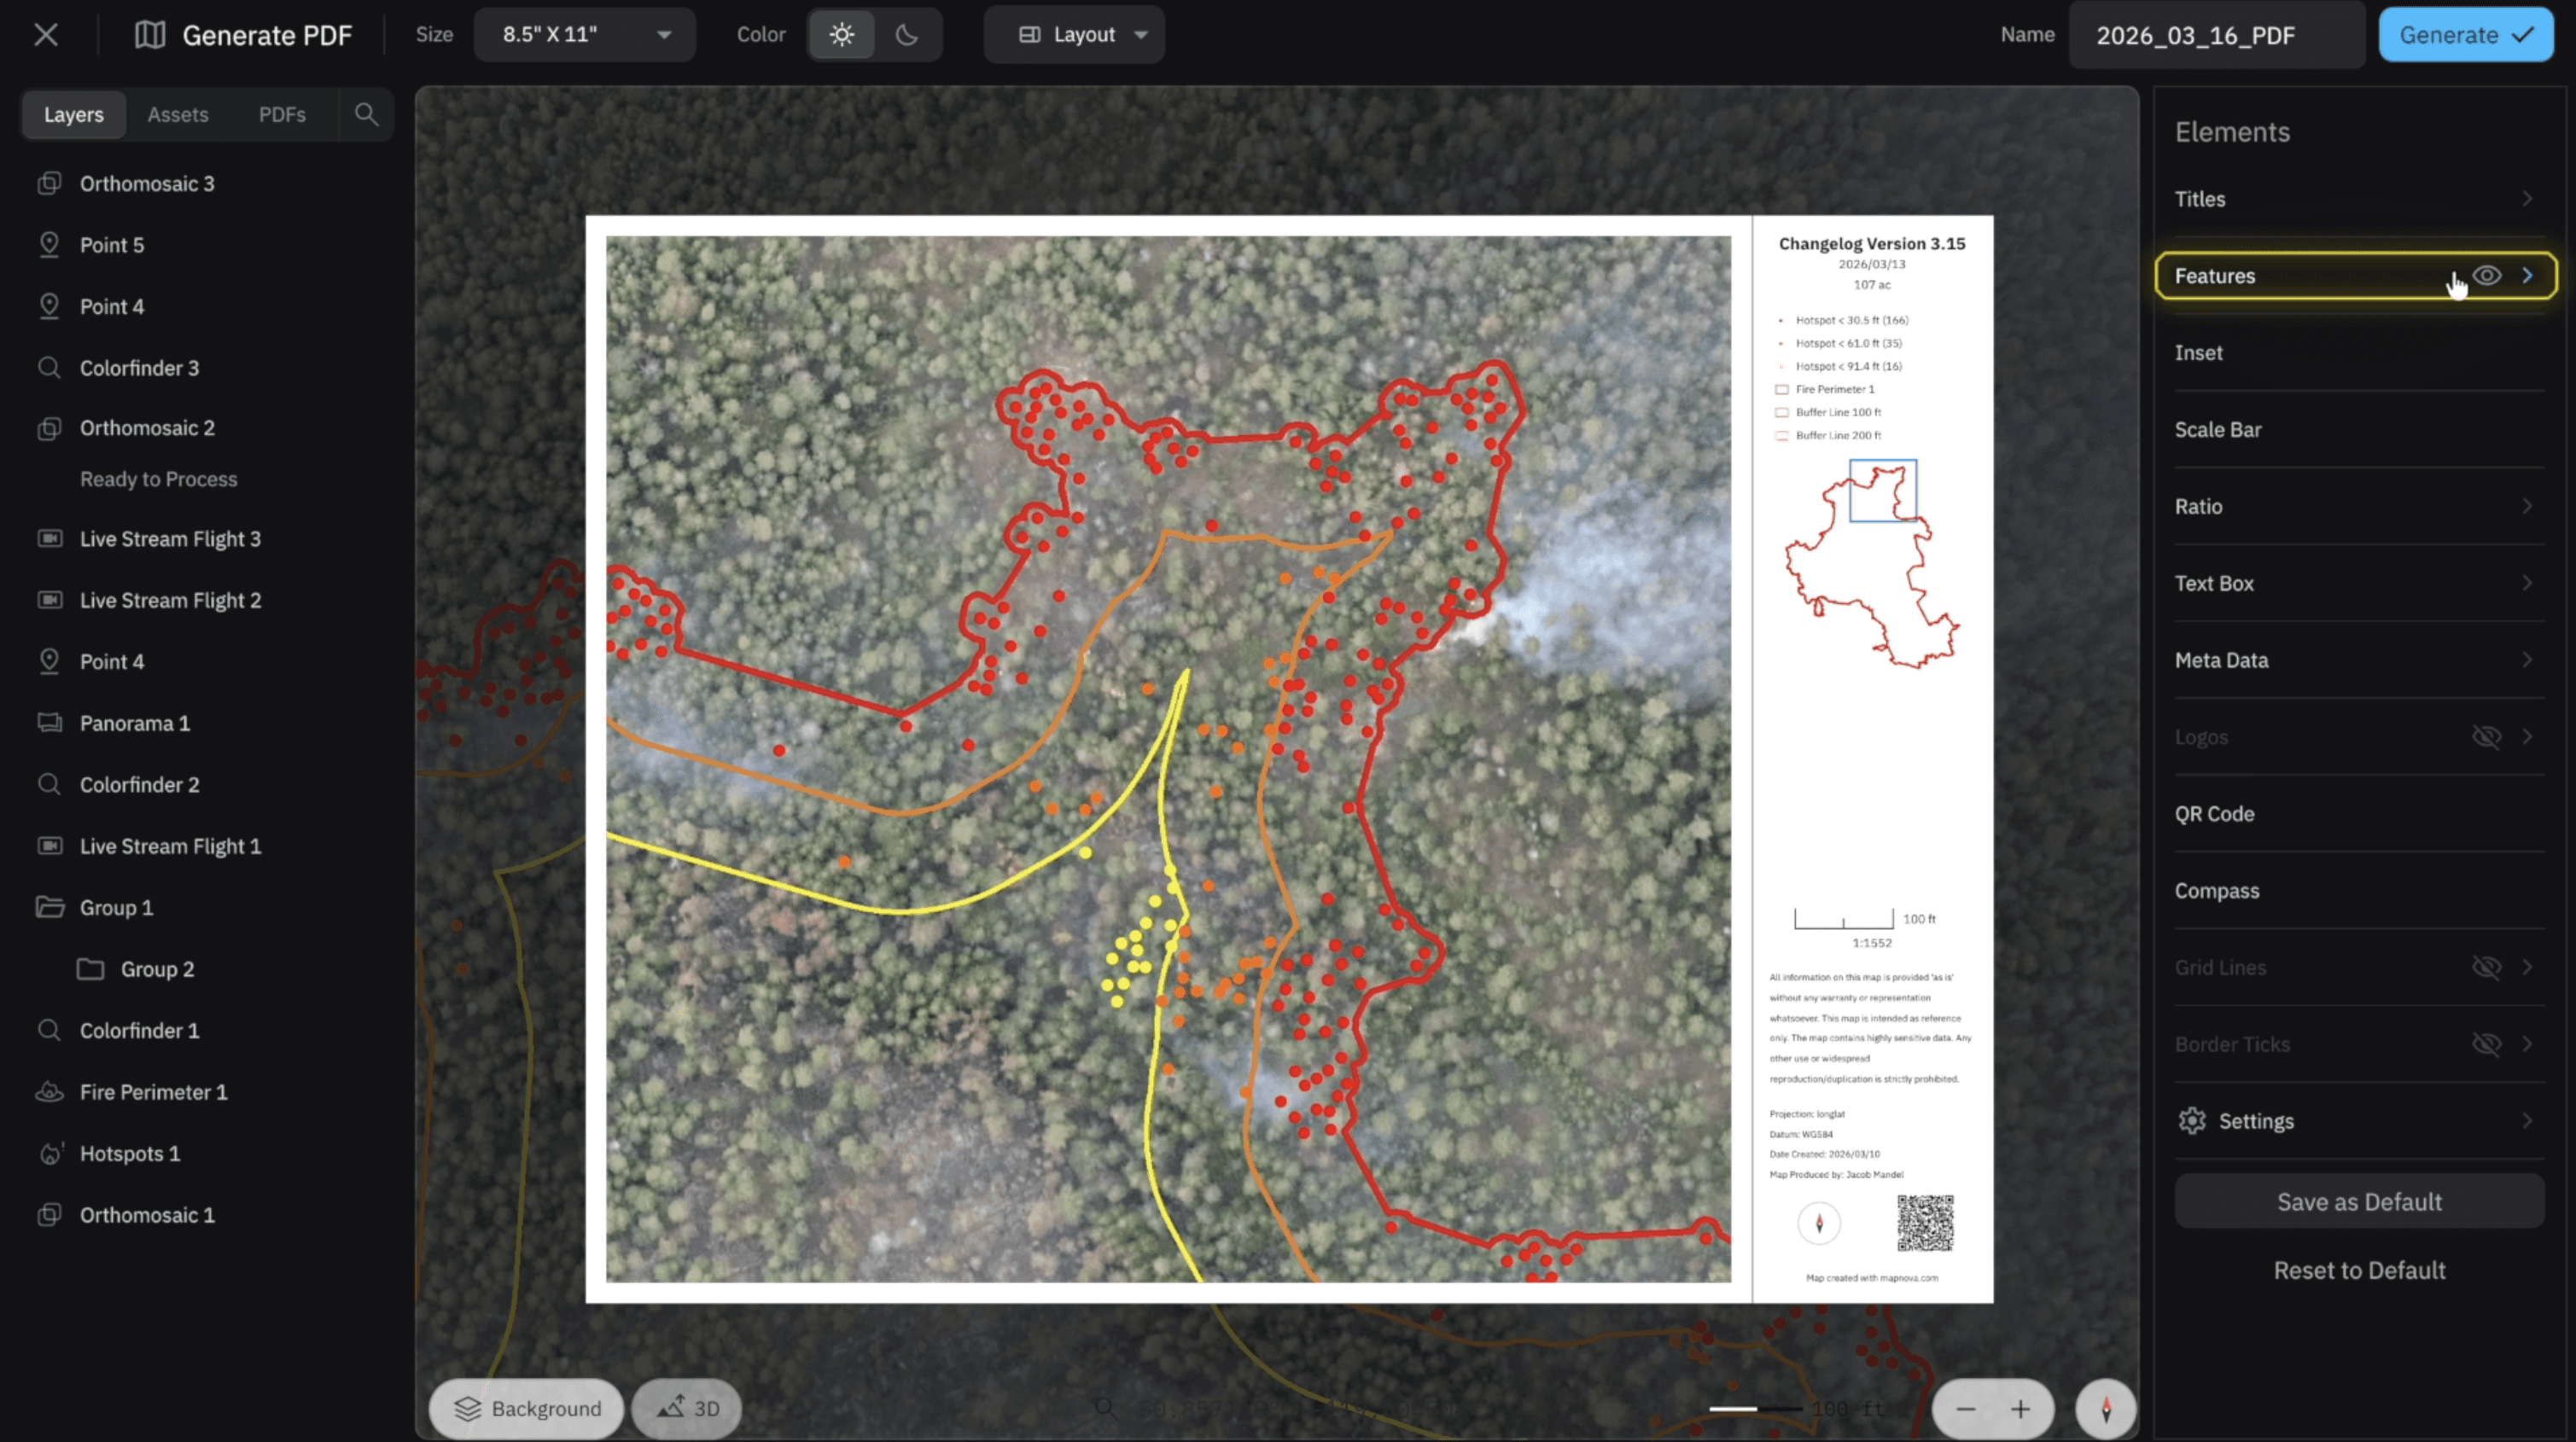
Features
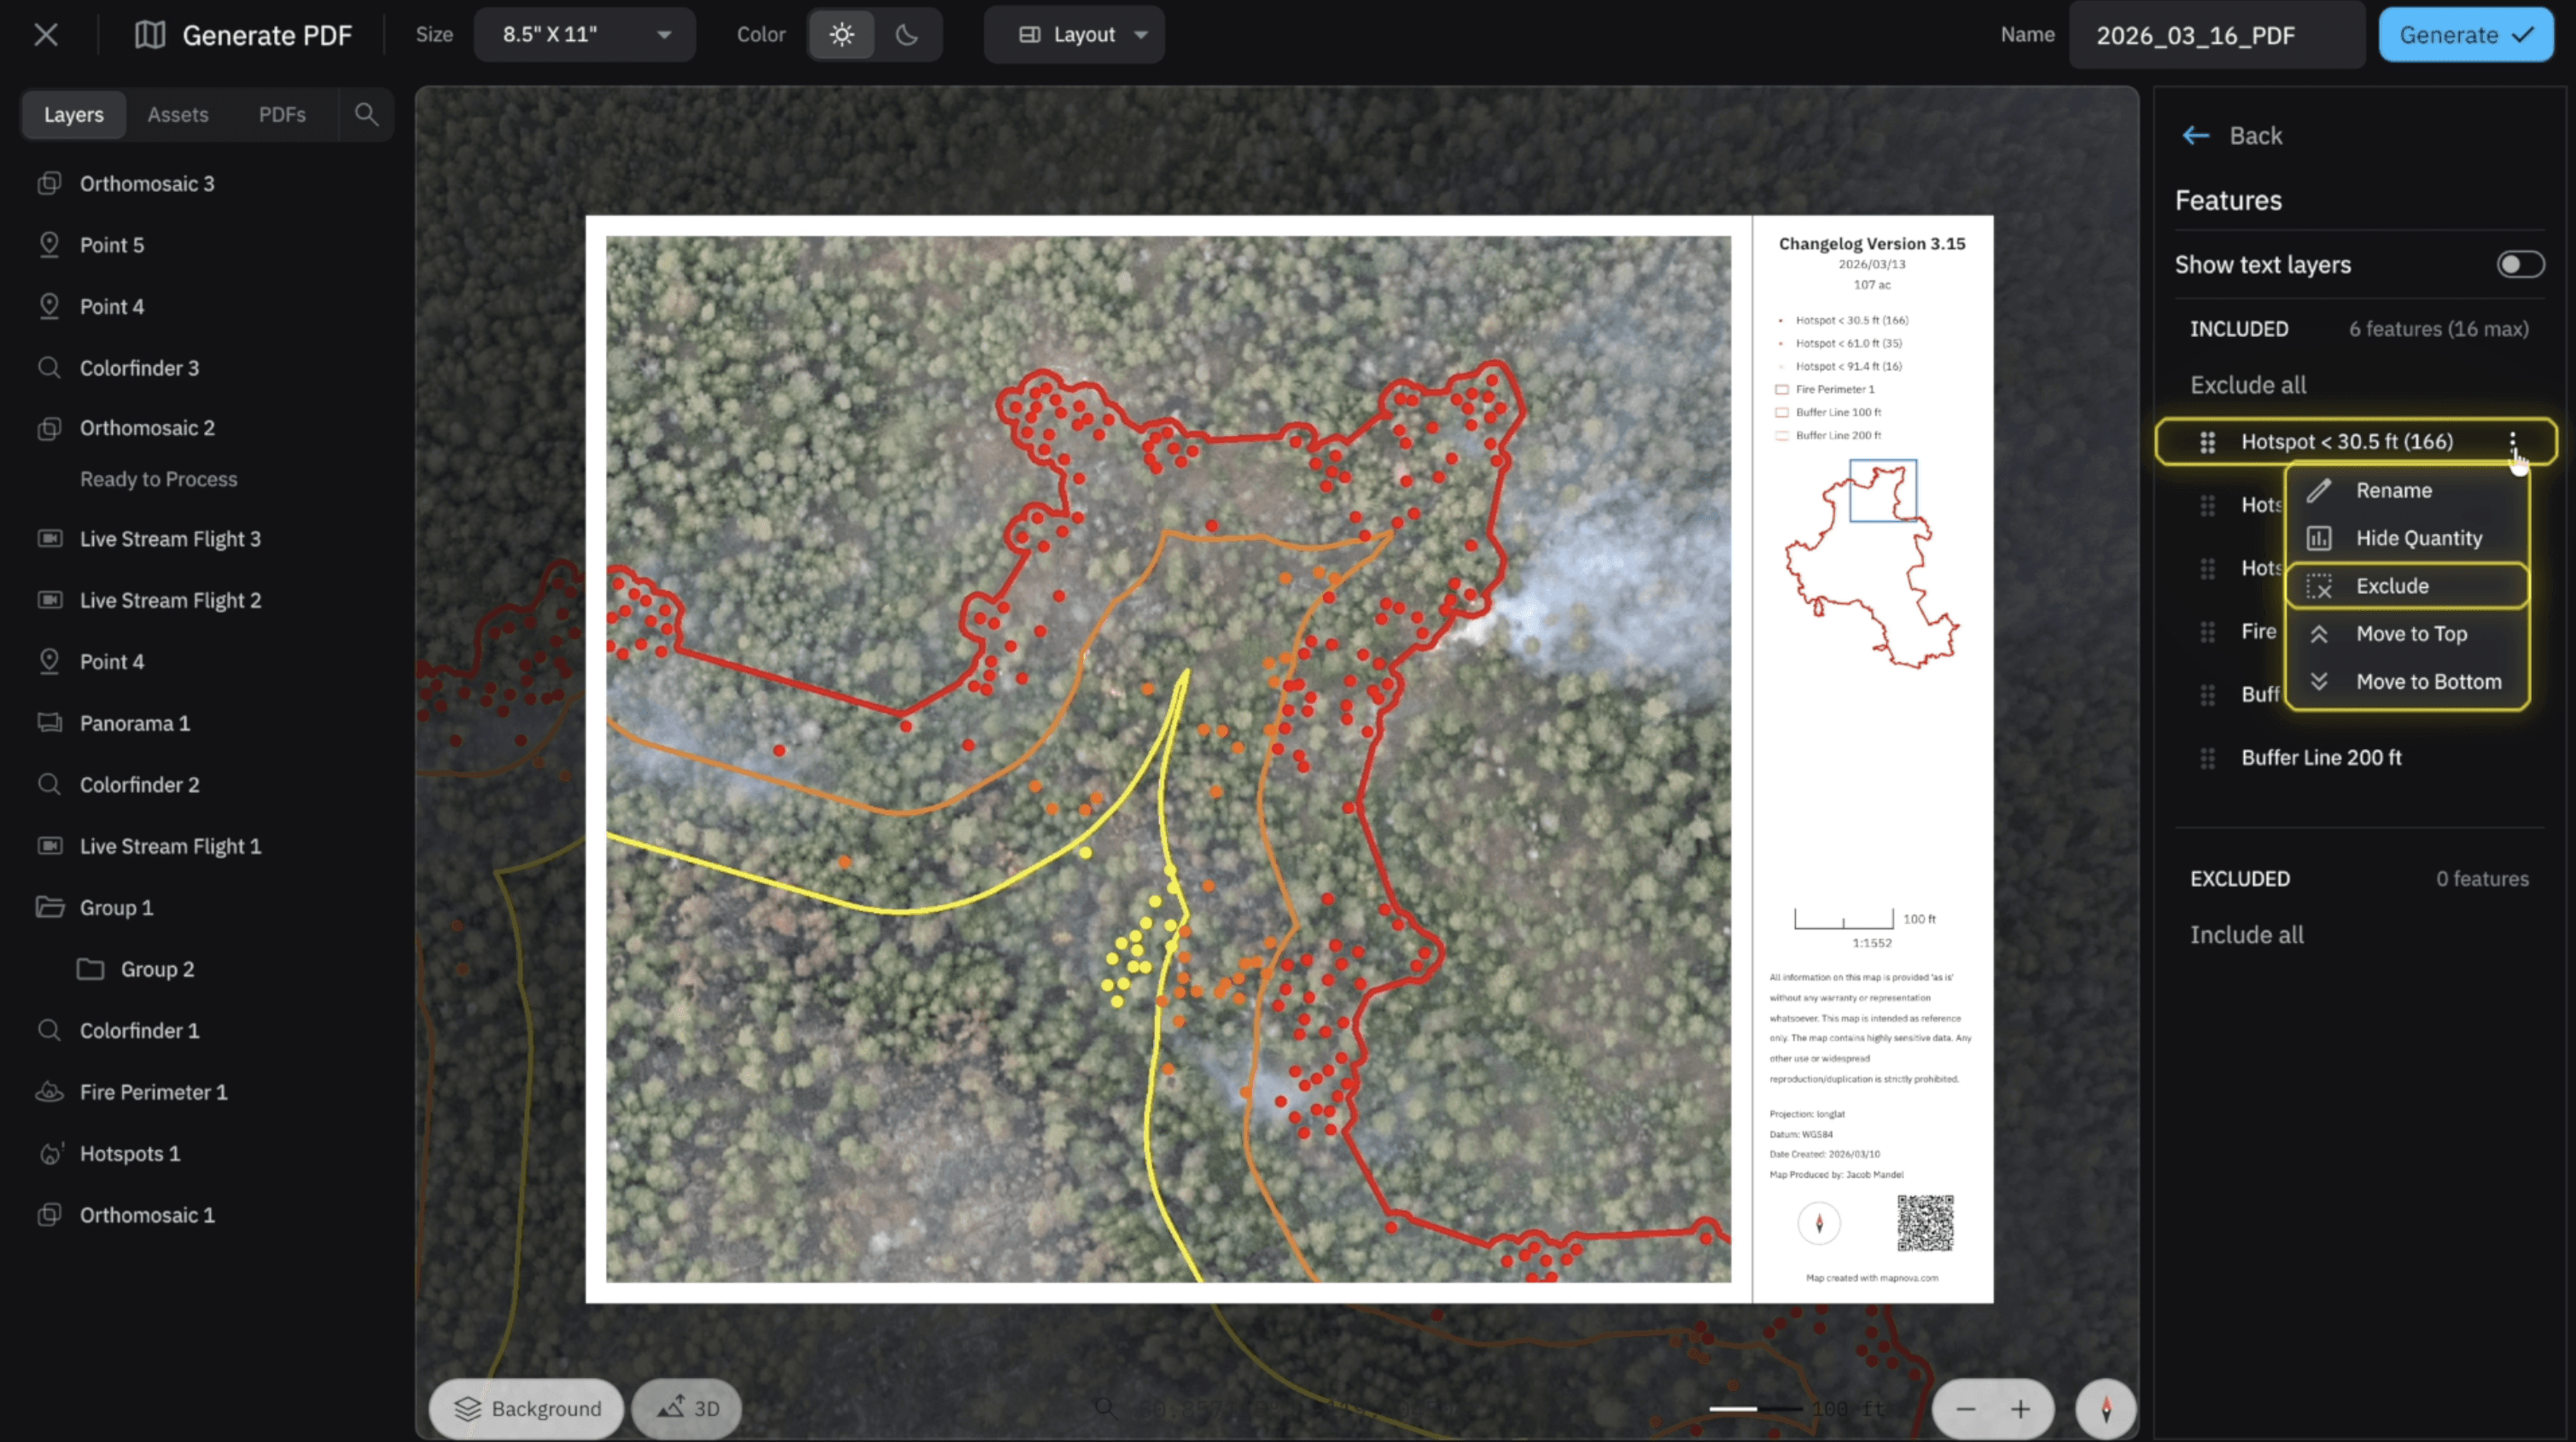
Within the Features dropdown we have everything we want to include or exclude from our legend. All points, lines, and polygons will appear within “Included” as long as they are within the boundaries of our PDF. If we want to exclude something, we can select the ellipses when we hover our cursor over the icon’s name. This will bring up another dropdown where we can move it to the top, bottom, or exclude from our legend.
To the left of the name we have six dots – when we select these dots we can drag the items in our legend up and down within the legend. In order to see text appear we can easily turn on the “Show Text” button and treat it like every other item.

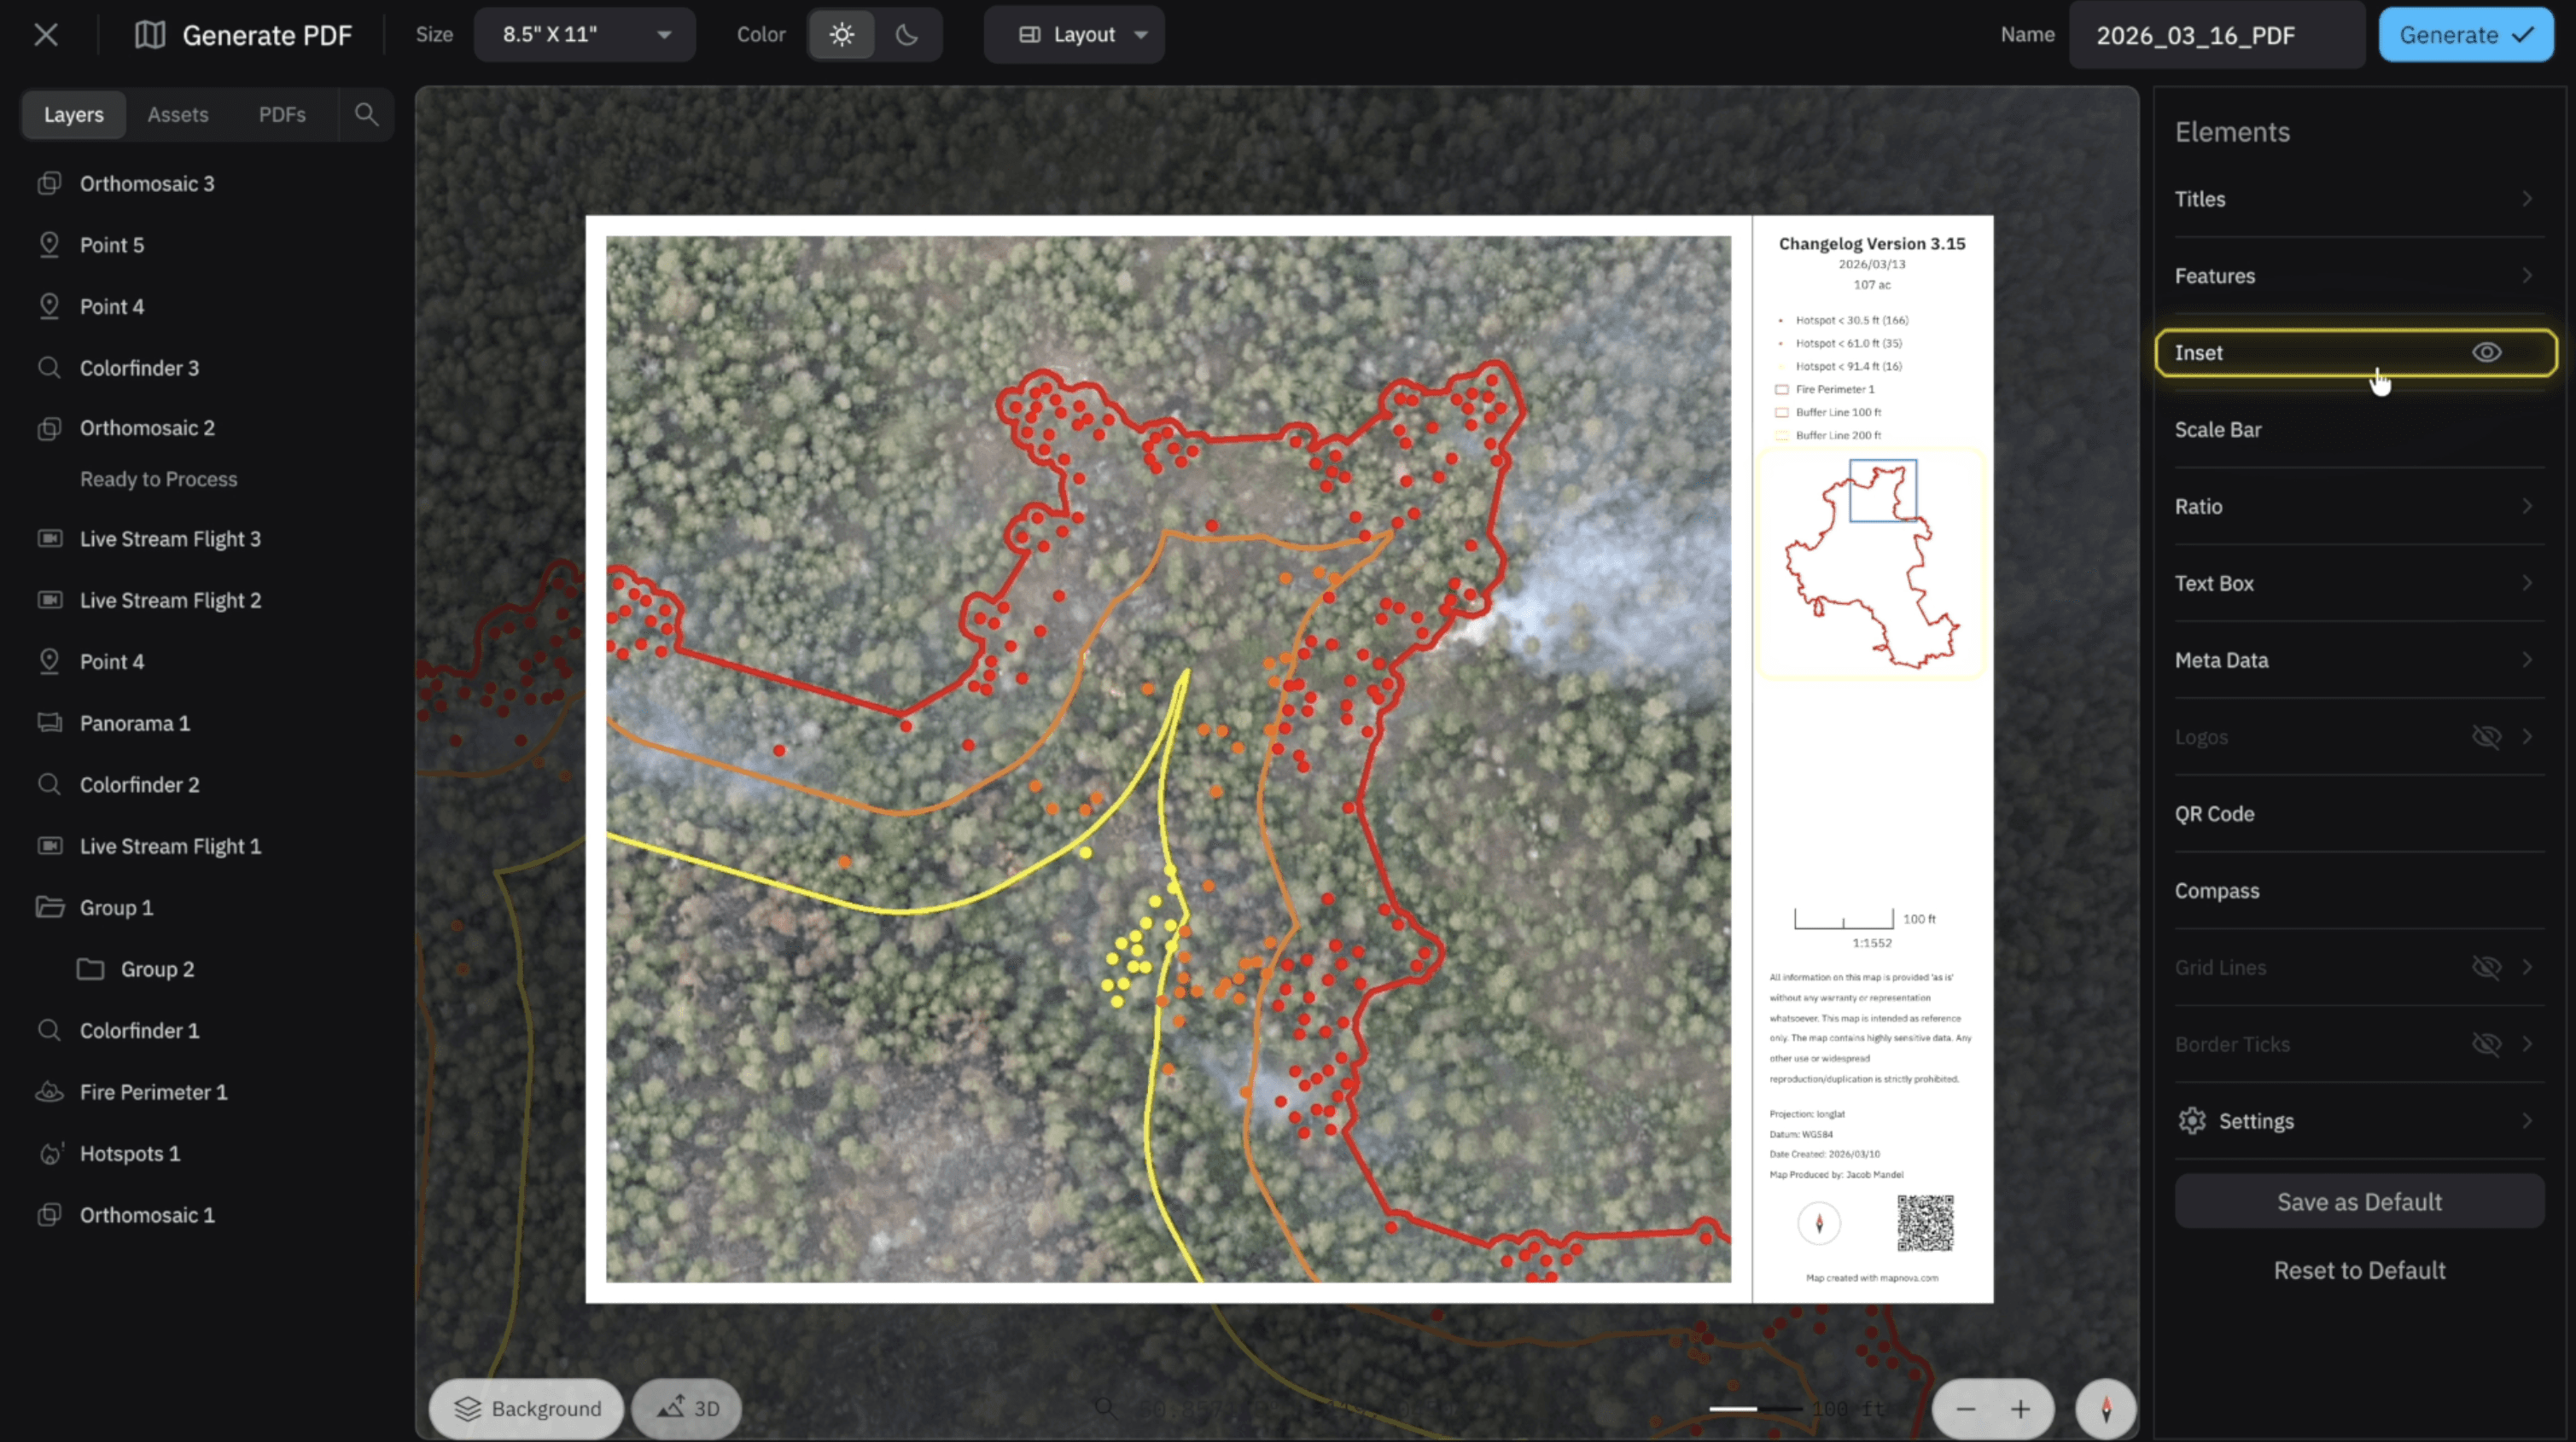
Inset
The inset is a very useful tool for showing field crews where your map is being generated. When toggled on you will see the incident perimeter and the blue bounding box that locates where that PDF has been generated.
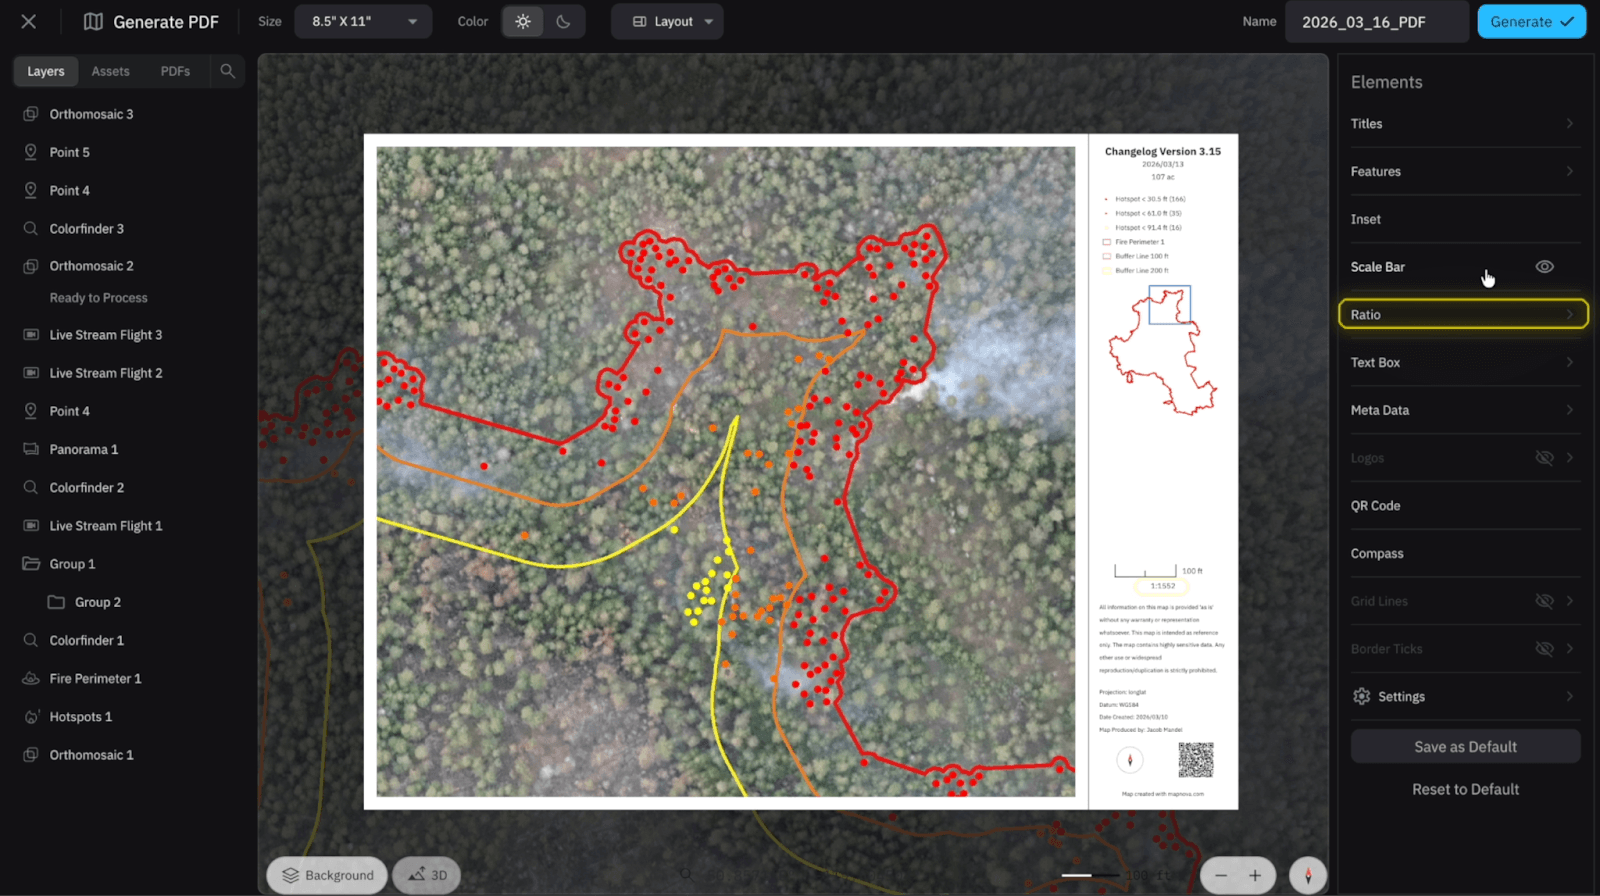
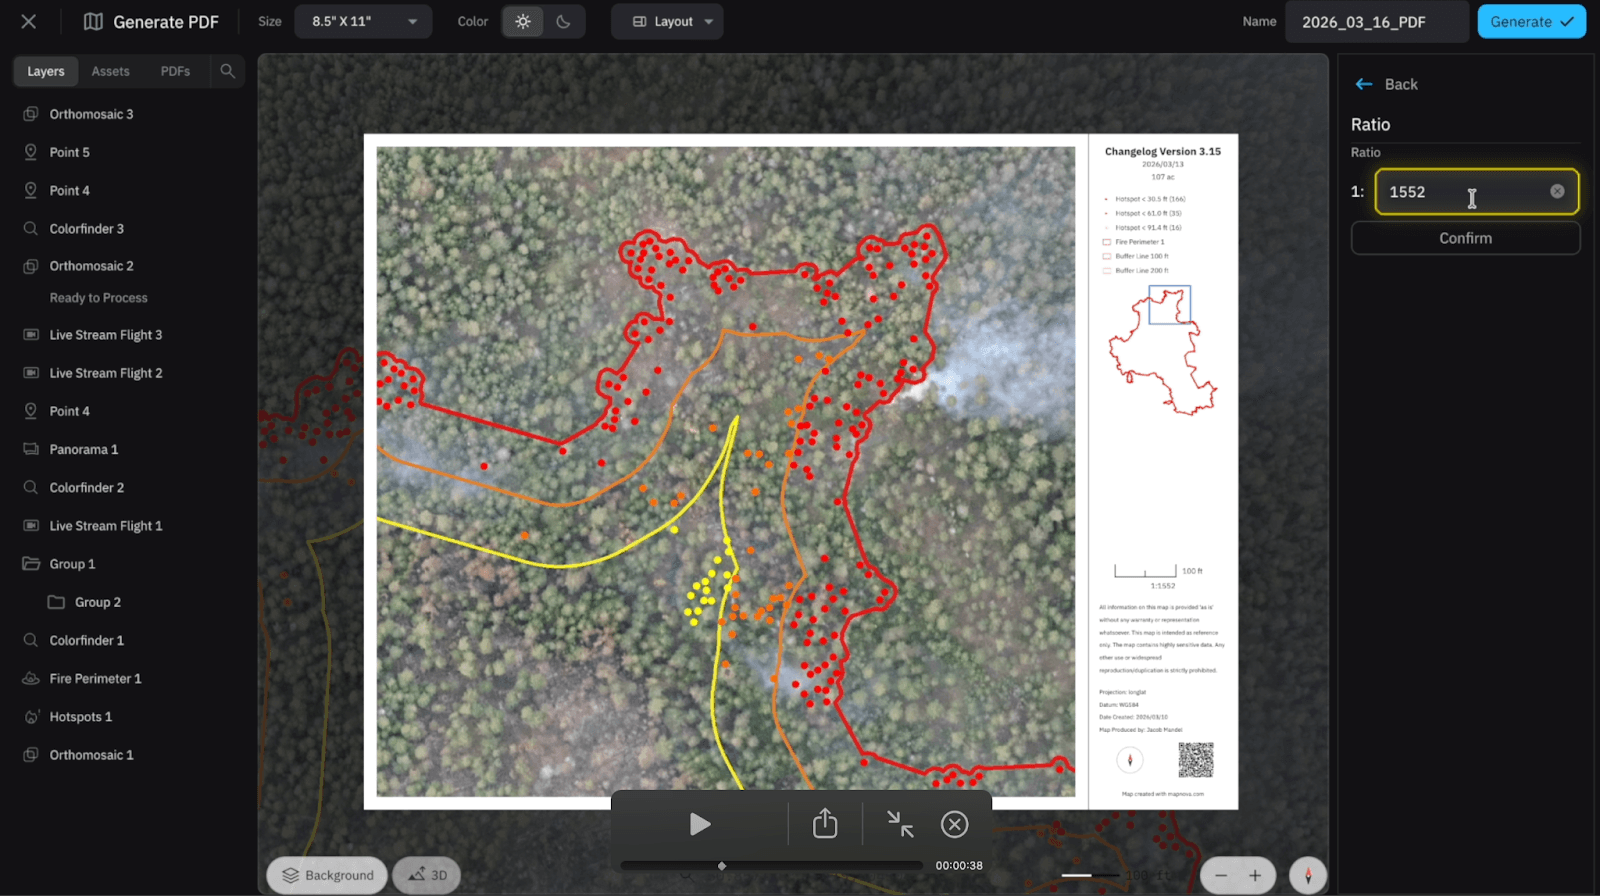
Scale Bar and Ratio
The Scale Bar will appear directly above the Ratio and it will self-adjust based on your ratio. To adjust your ratio you can zoom in and out on your PDF map, or you can select the arrow next to the ratio and enter a desired number.

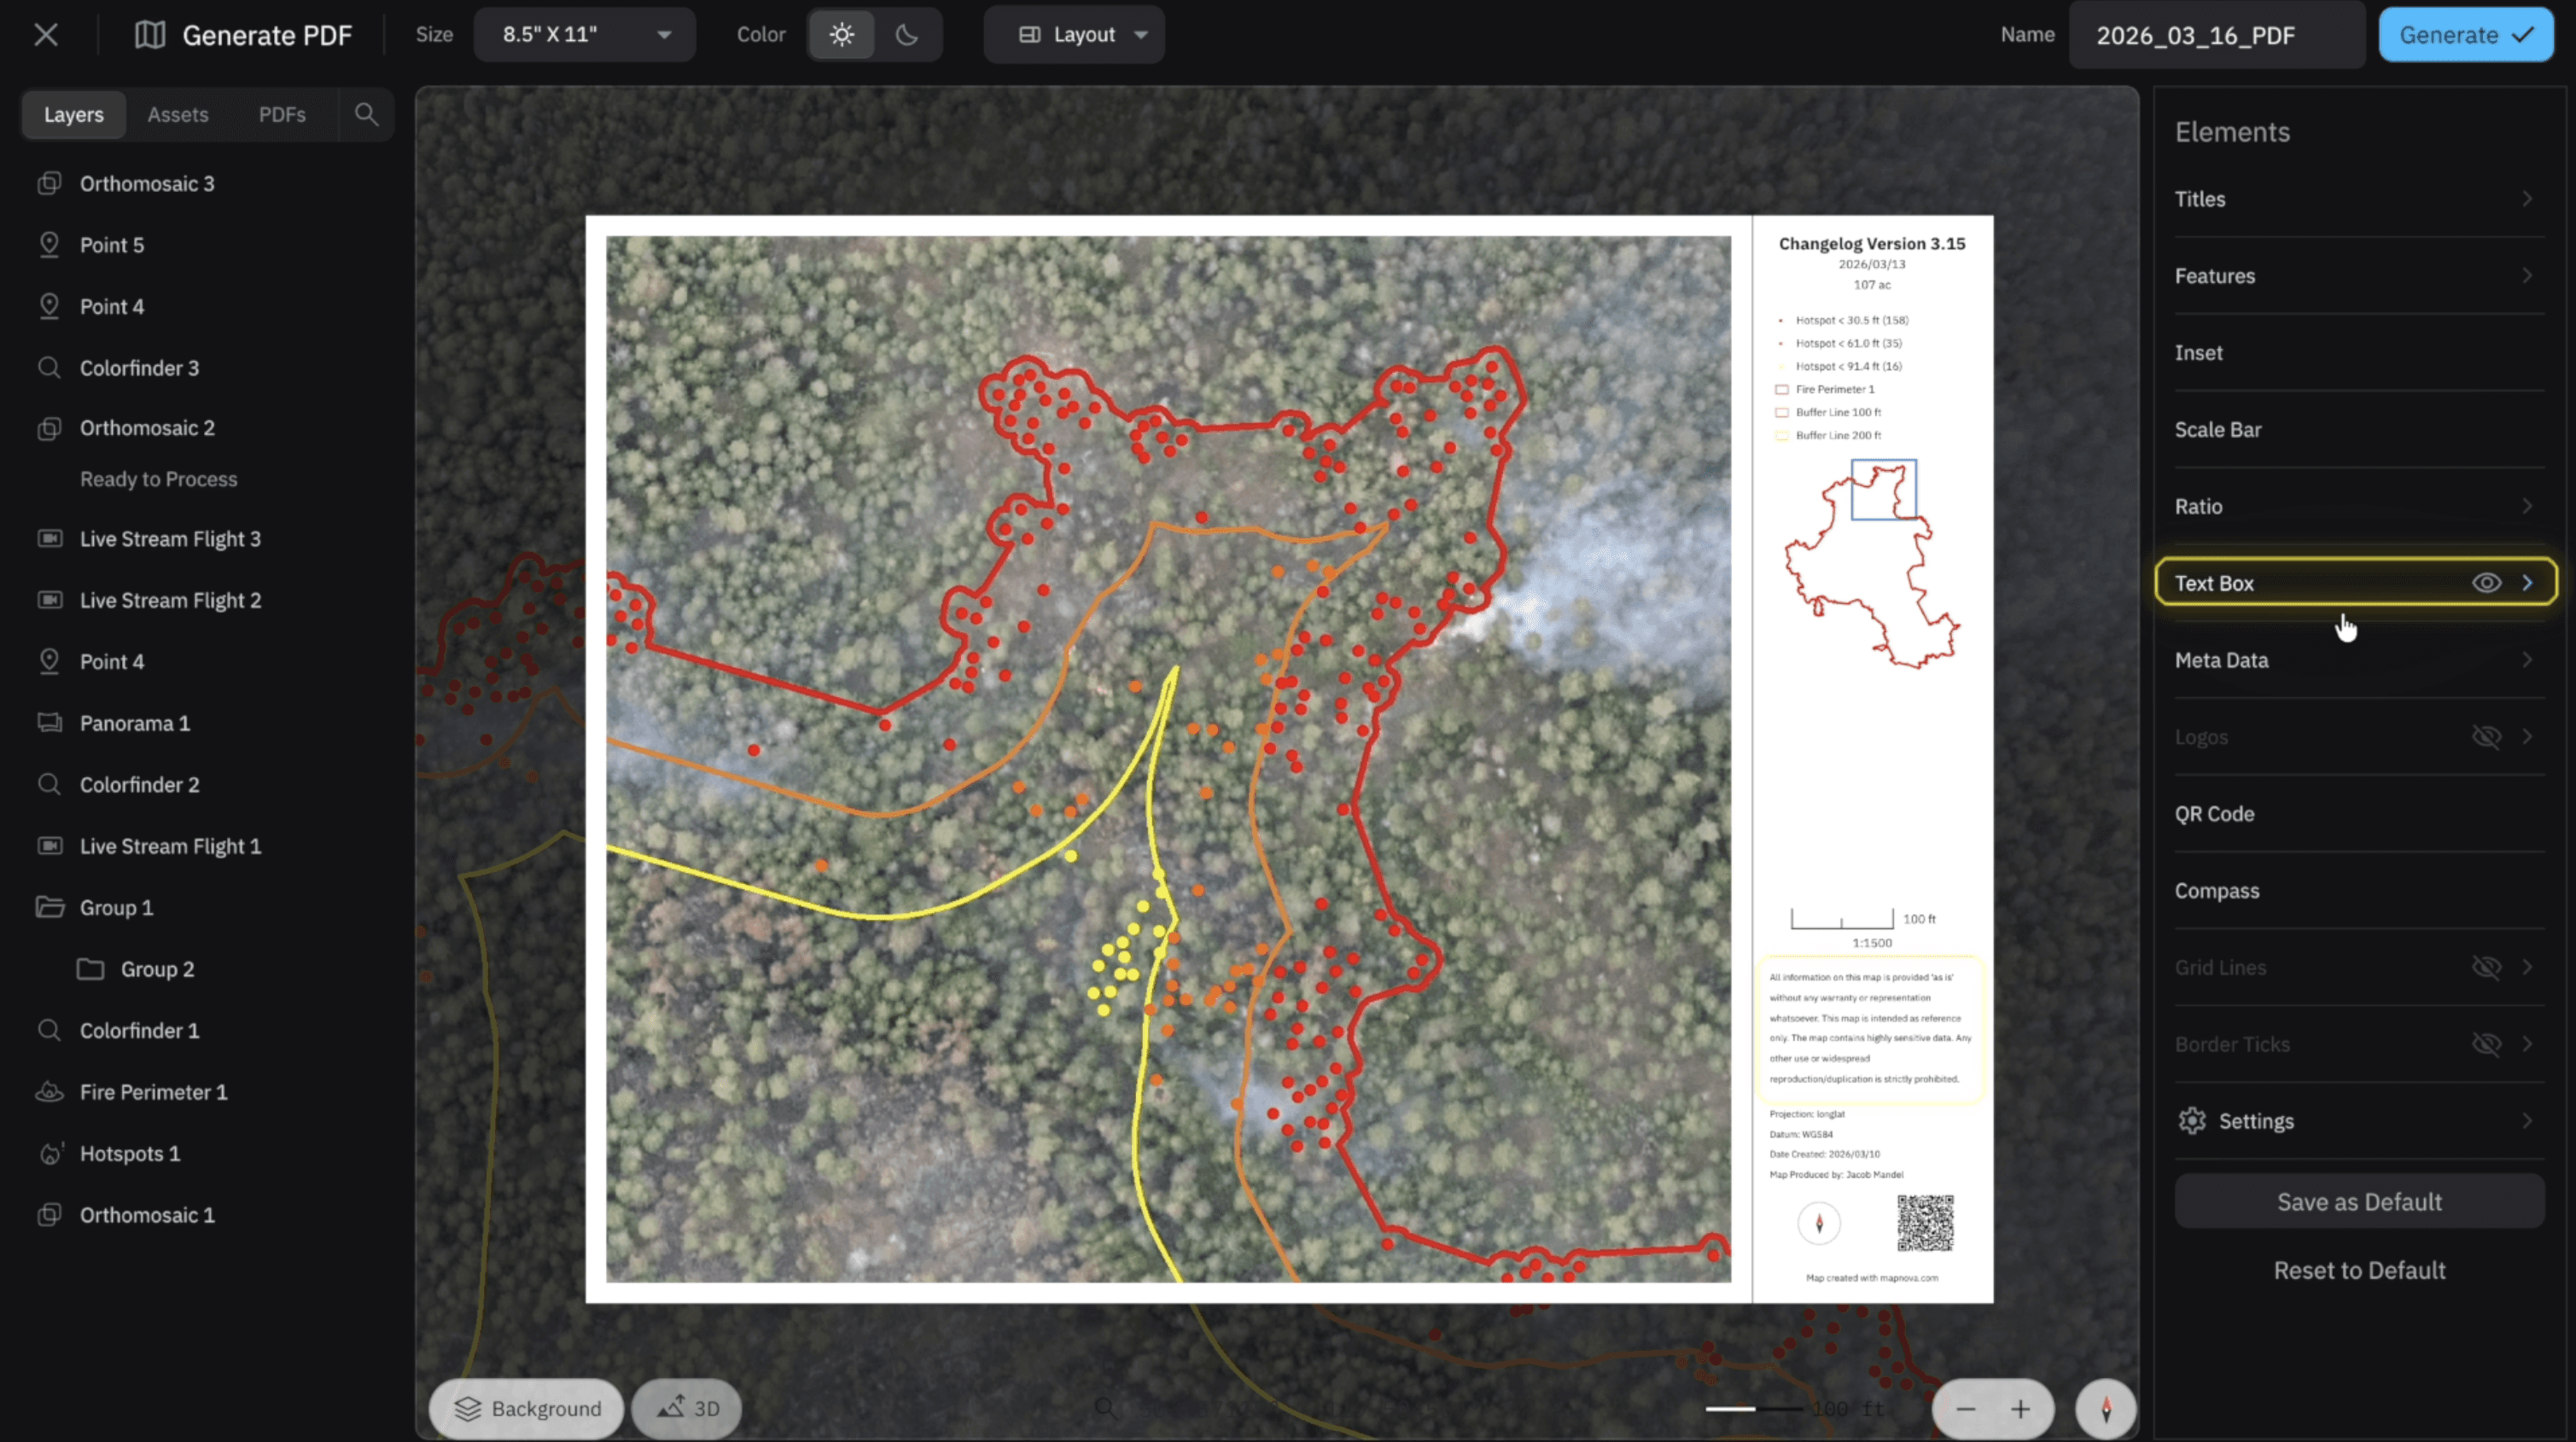
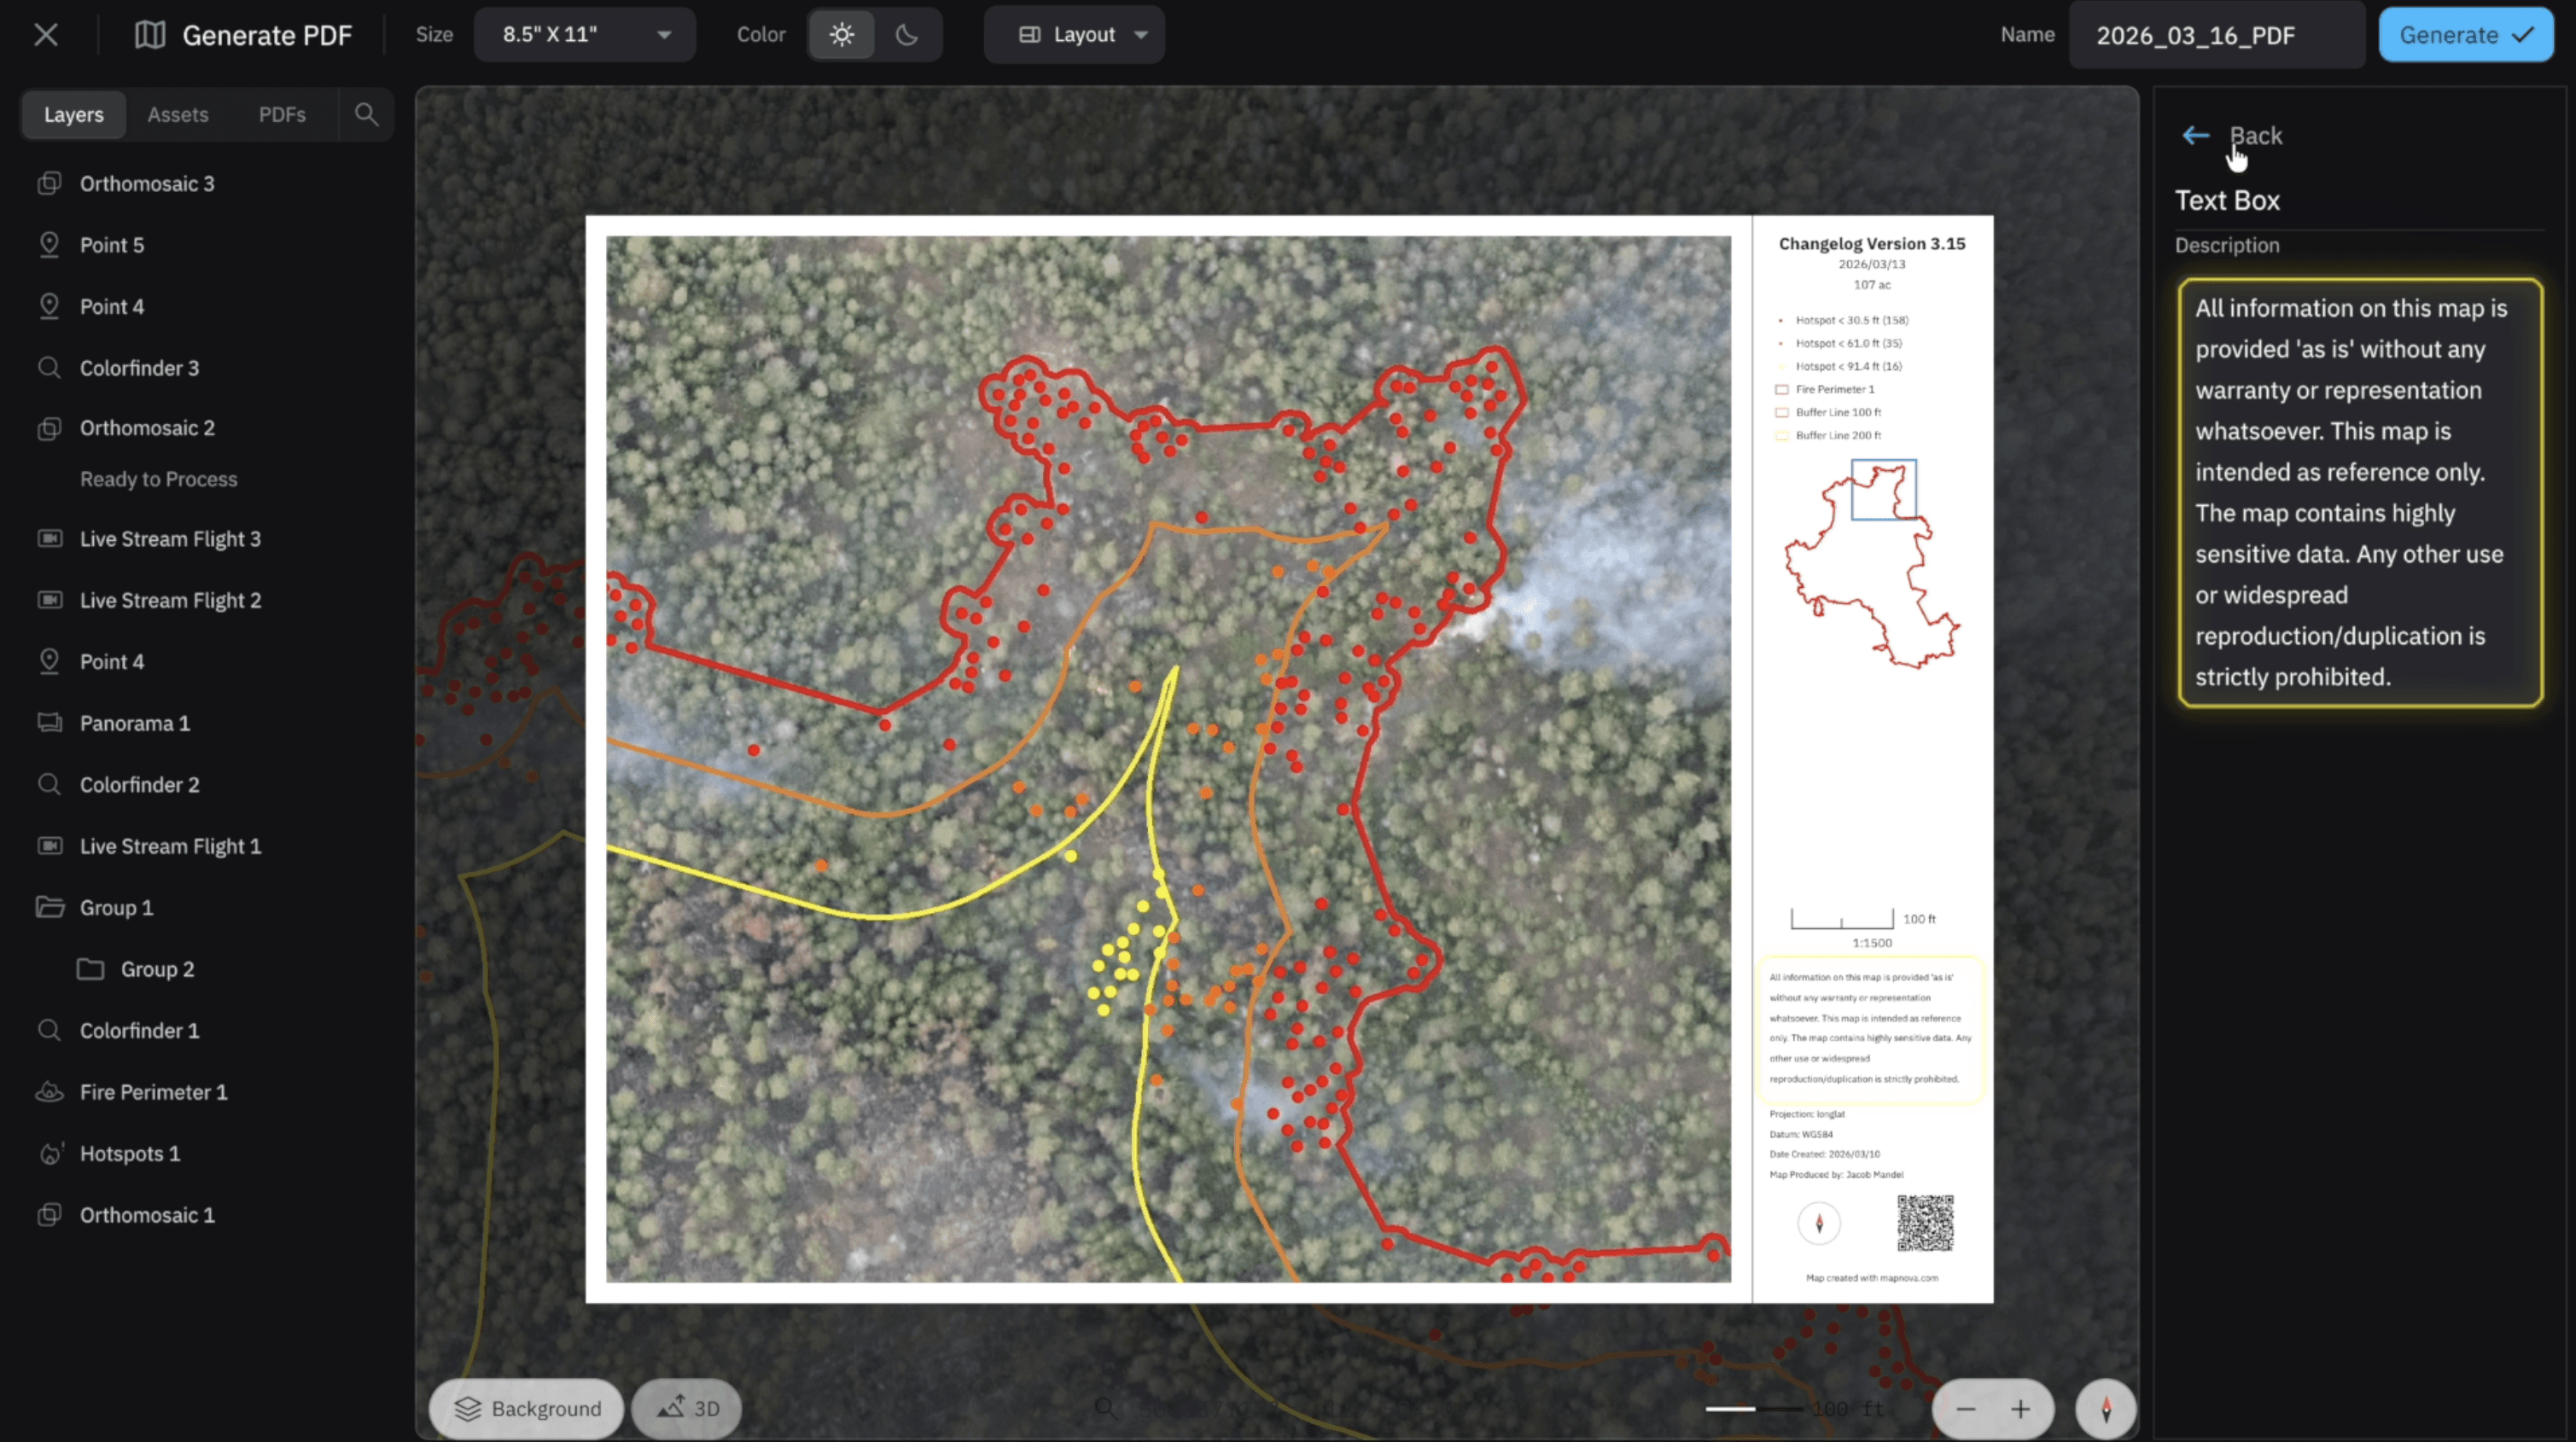
Text Box
From within the Text Box element you can give a description of the PDF itself and what you are trying to showcase, as well as objectives for ground crews to accomplish throughout the day.
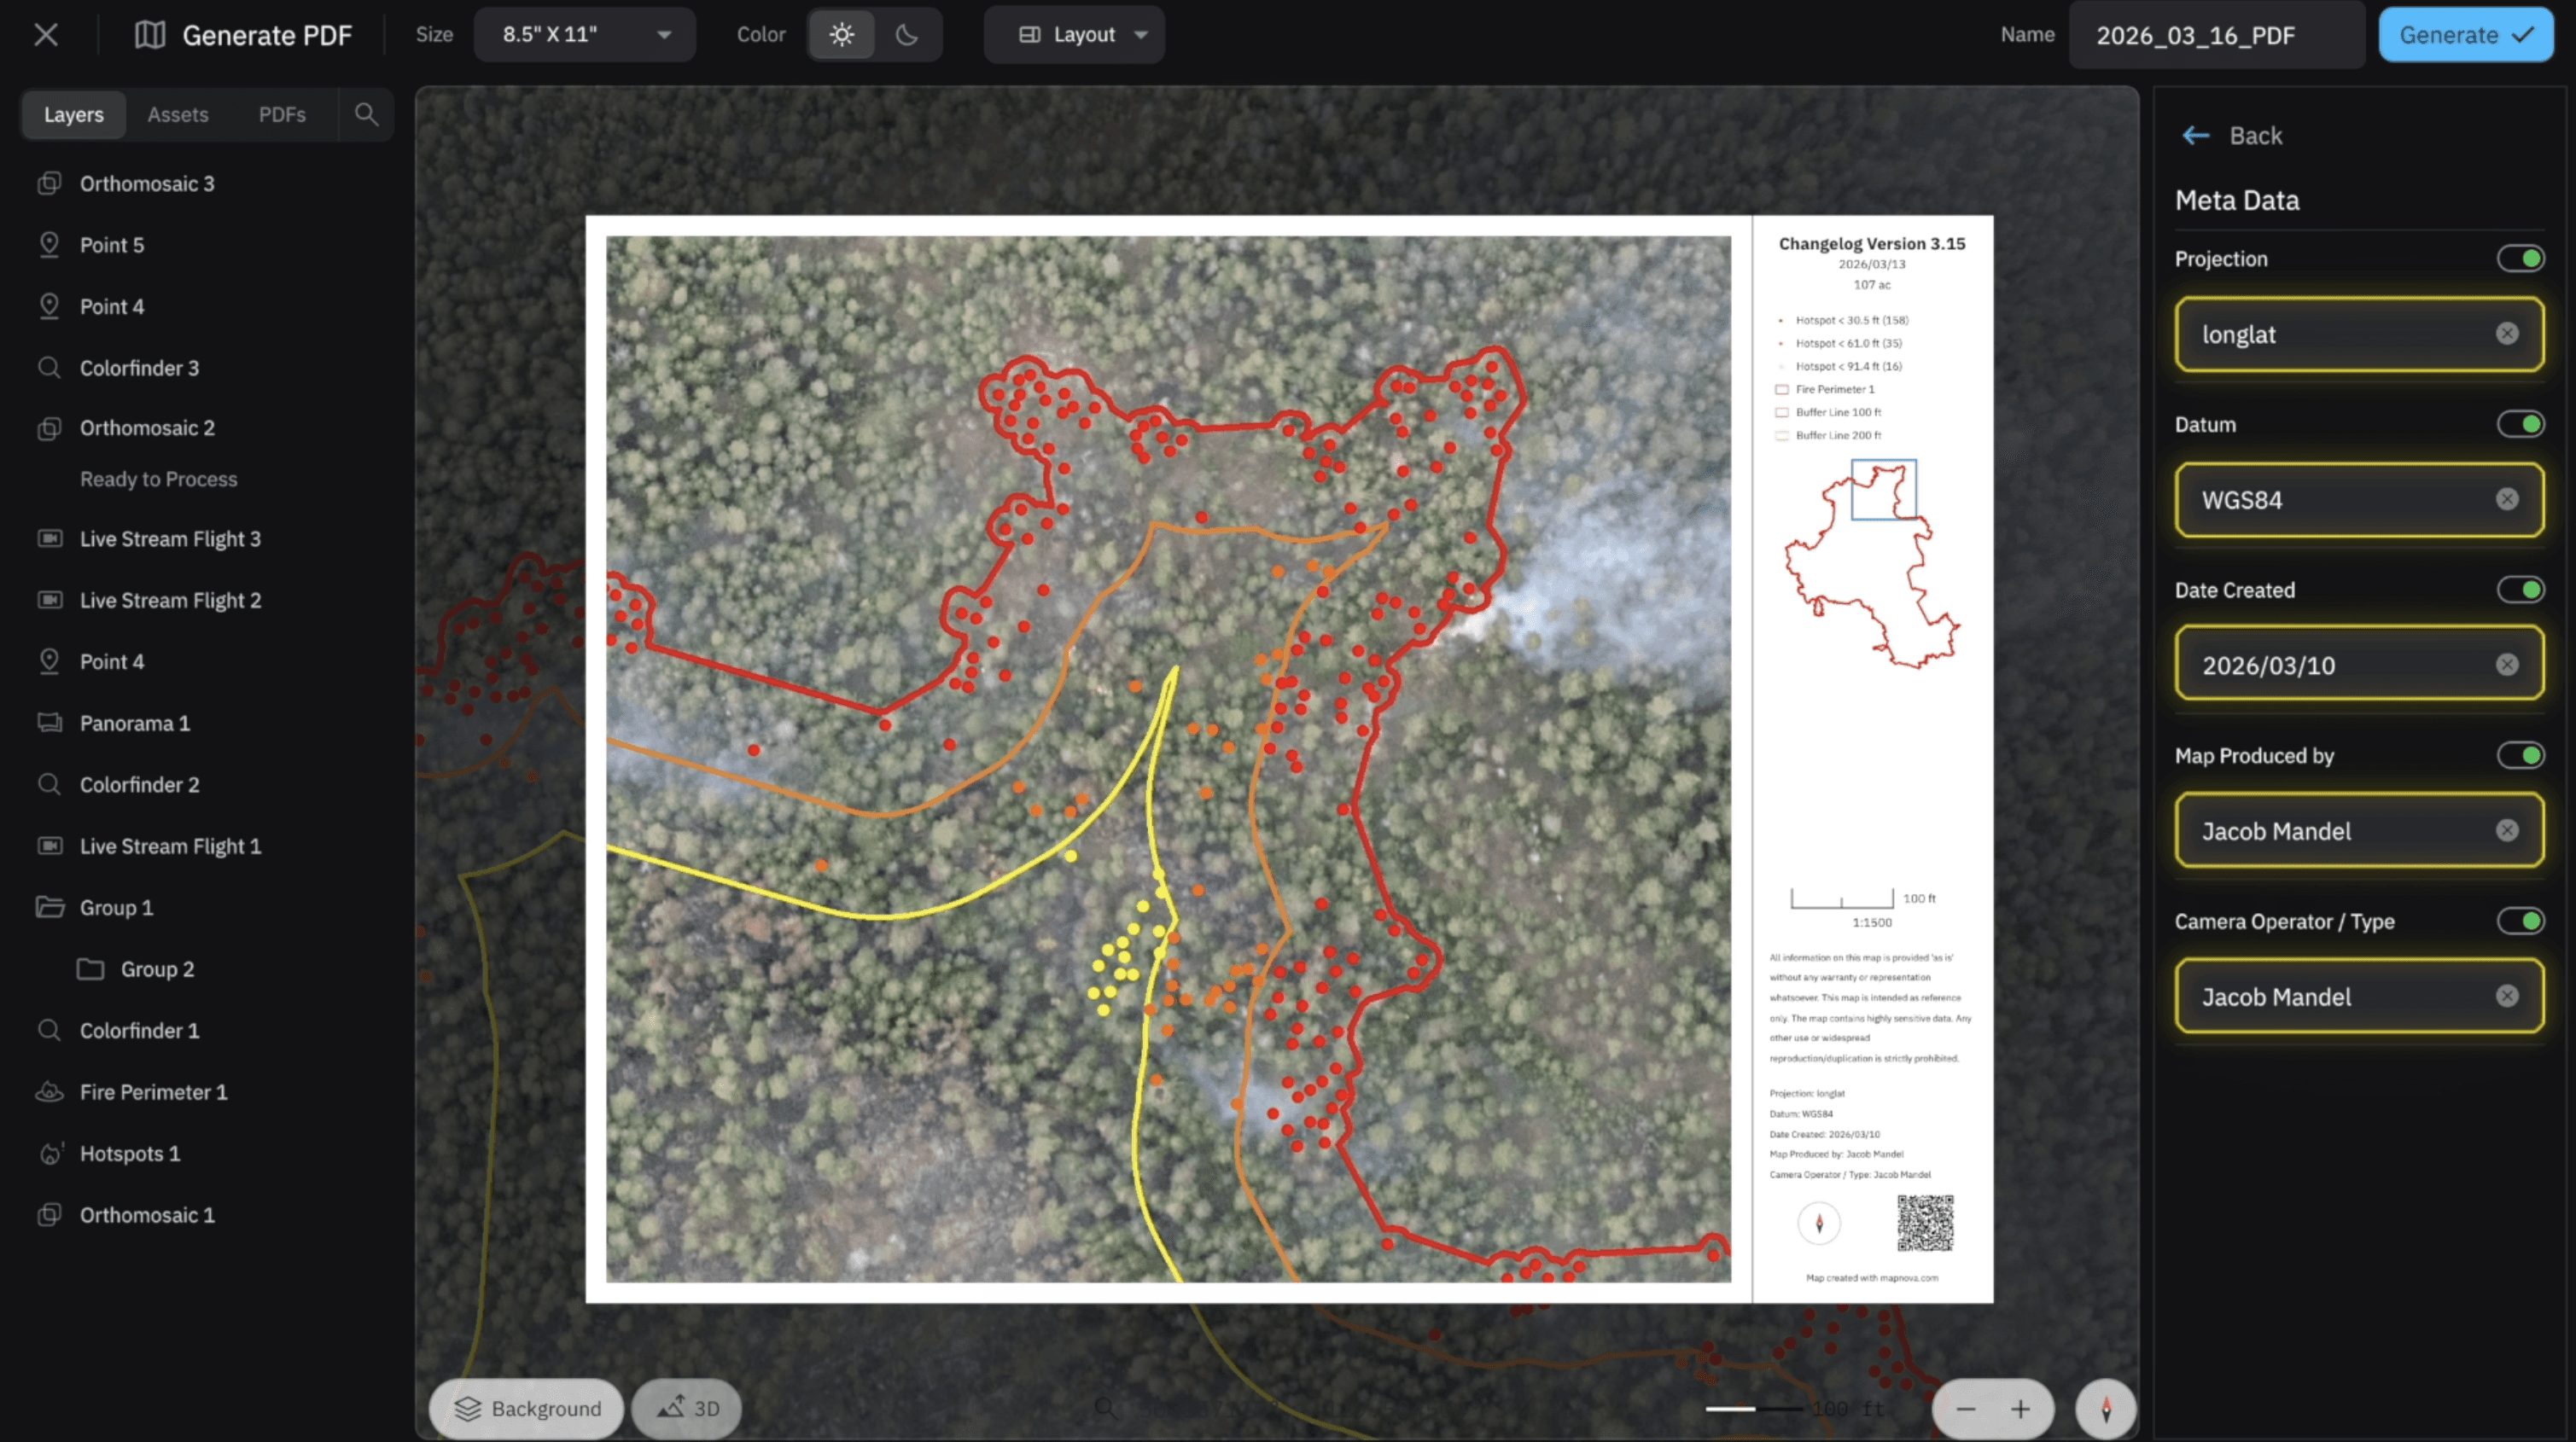
Meta Data
Being that this is a legal document, adding the Meta Data to your map clarifies the coordinate system you are showcasing. You can adjust your projections, datum, and date created. We've also added Map Produced By and Camera Operator / Type to not only showcase who created the map, but who flew the mission.
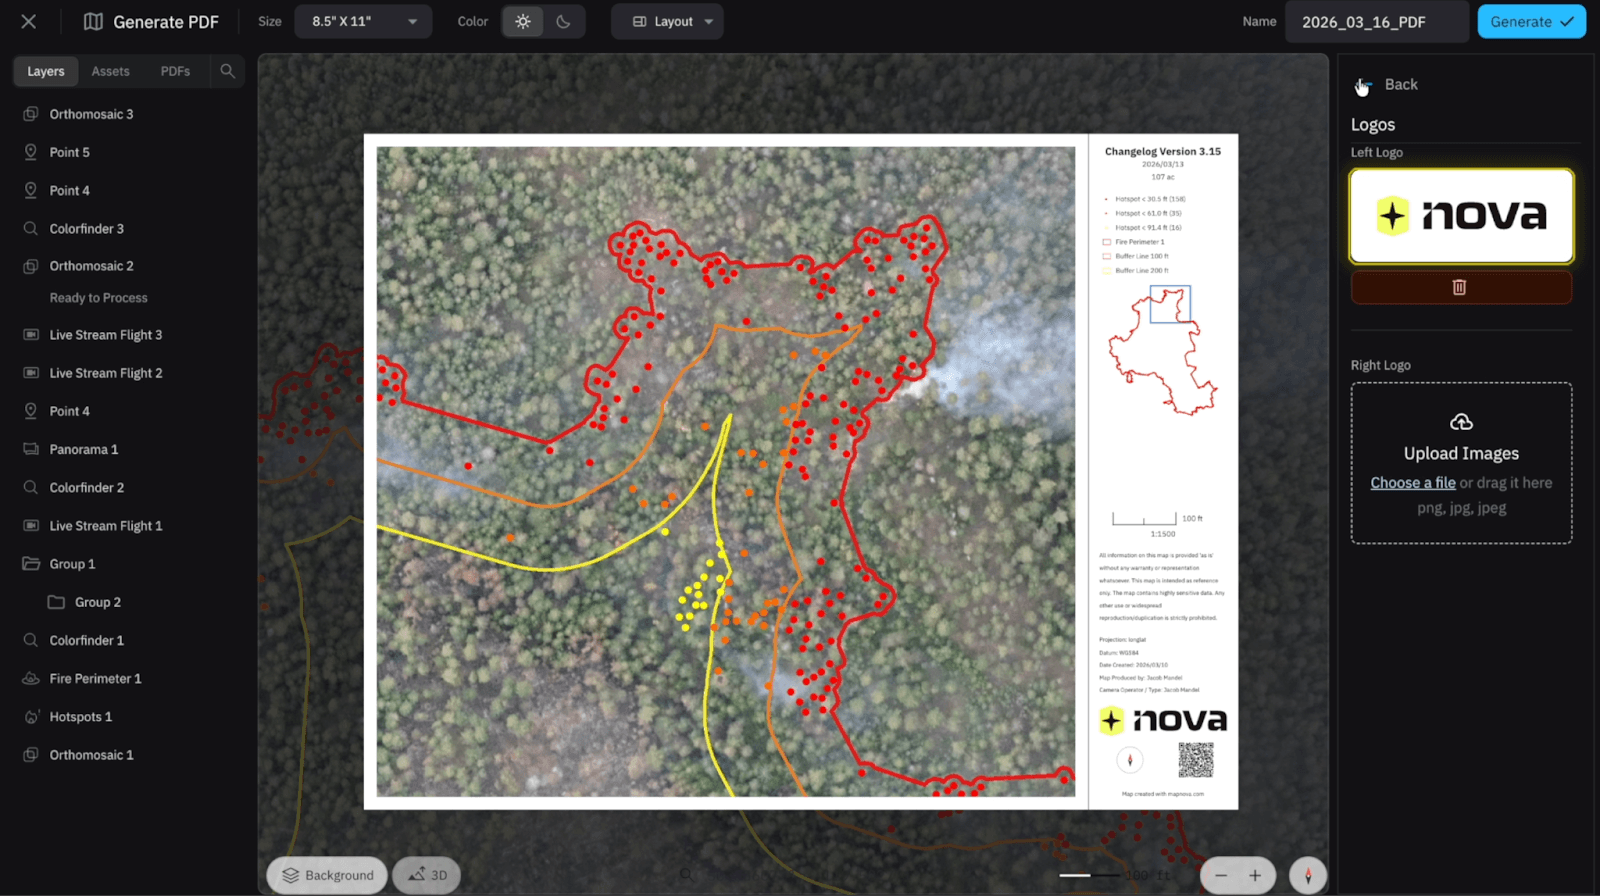
Logo
When we select Logo you will see there are two logos we can add to the map. You can add your own logo by simply dragging and dropping it into the Add Logo section and your logo will appear on your PDF map. If you work with mutual aid you can remove the Nova logo and add a second logo if they have one.
One thing I will note with logos is when you exit and select “Save as Default” at the bottom of the Elements tab, you can save your logo so you won't have to keep dragging and dropping your image into your PDF.

QR Code and Compass
Both of these elements will be represented at the bottom right corner of your PDF. The QR Code can be scanned by anyone and easily imported into Avenza if you support it. The Compass, on the other hand, will always point North as it should.
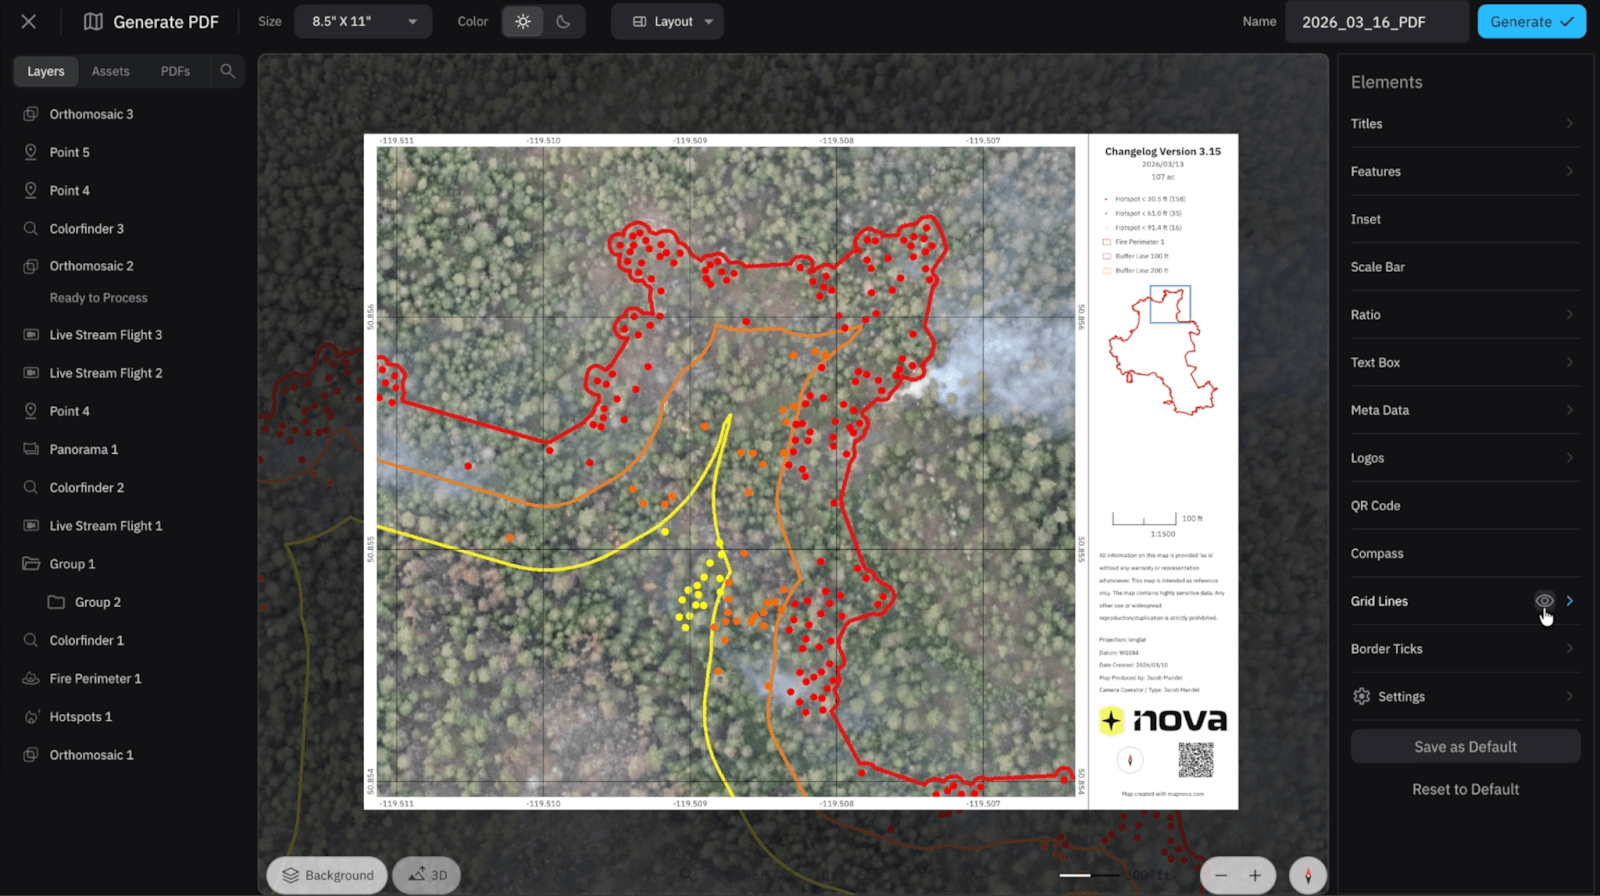
Gridlines and Border Ticks
These elements are very straightforward, and when they are turned on they will appear on your map with proper coordinates, as all PDFs within Nova are georeferenced.
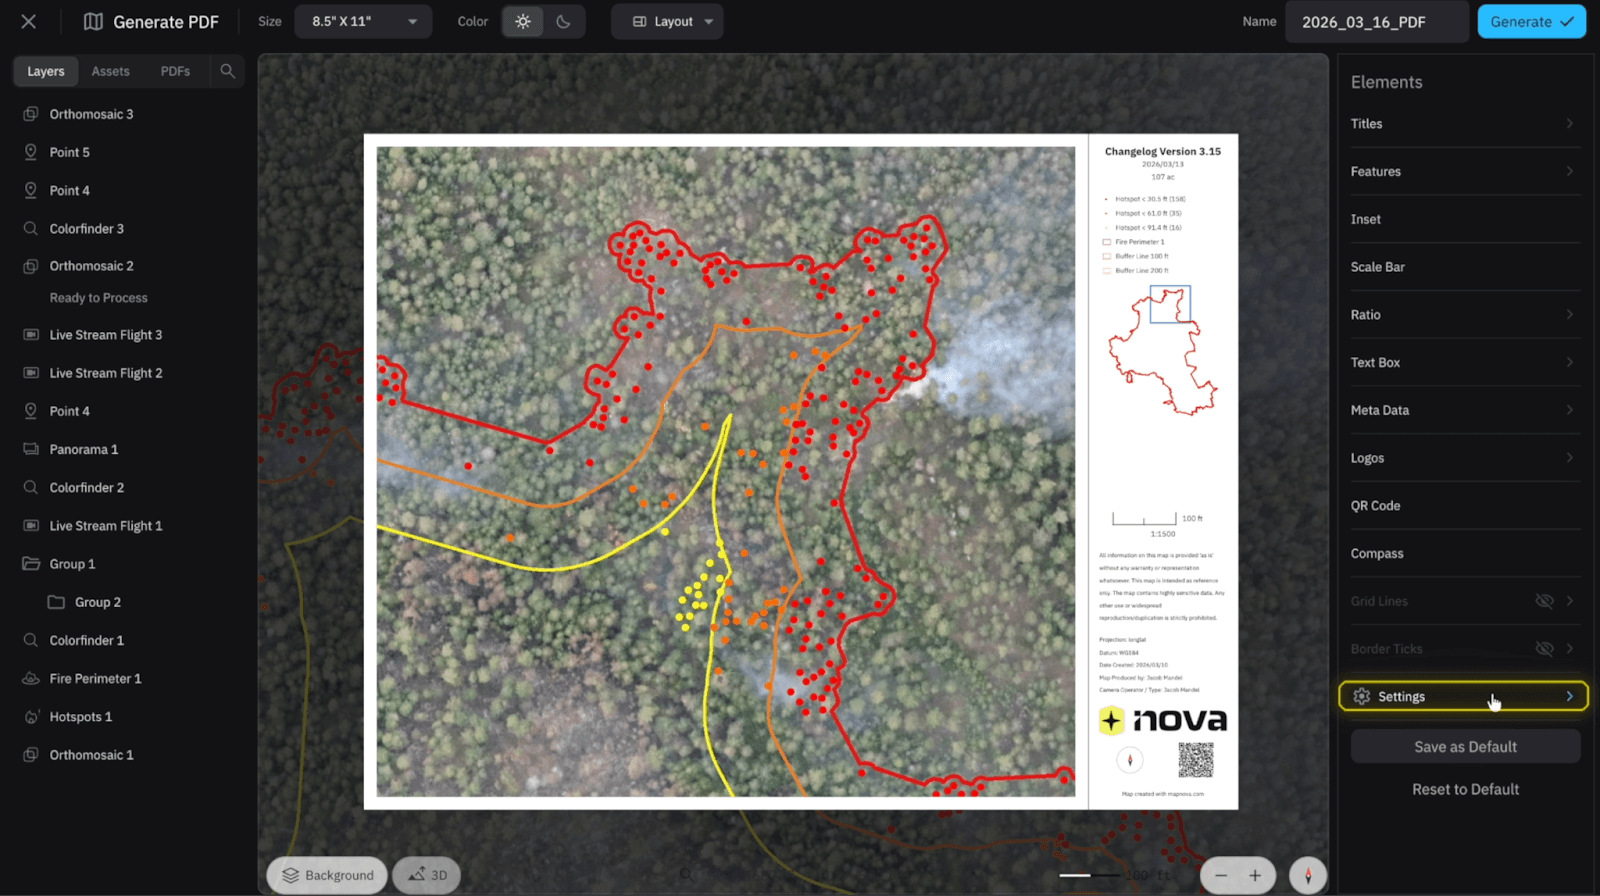
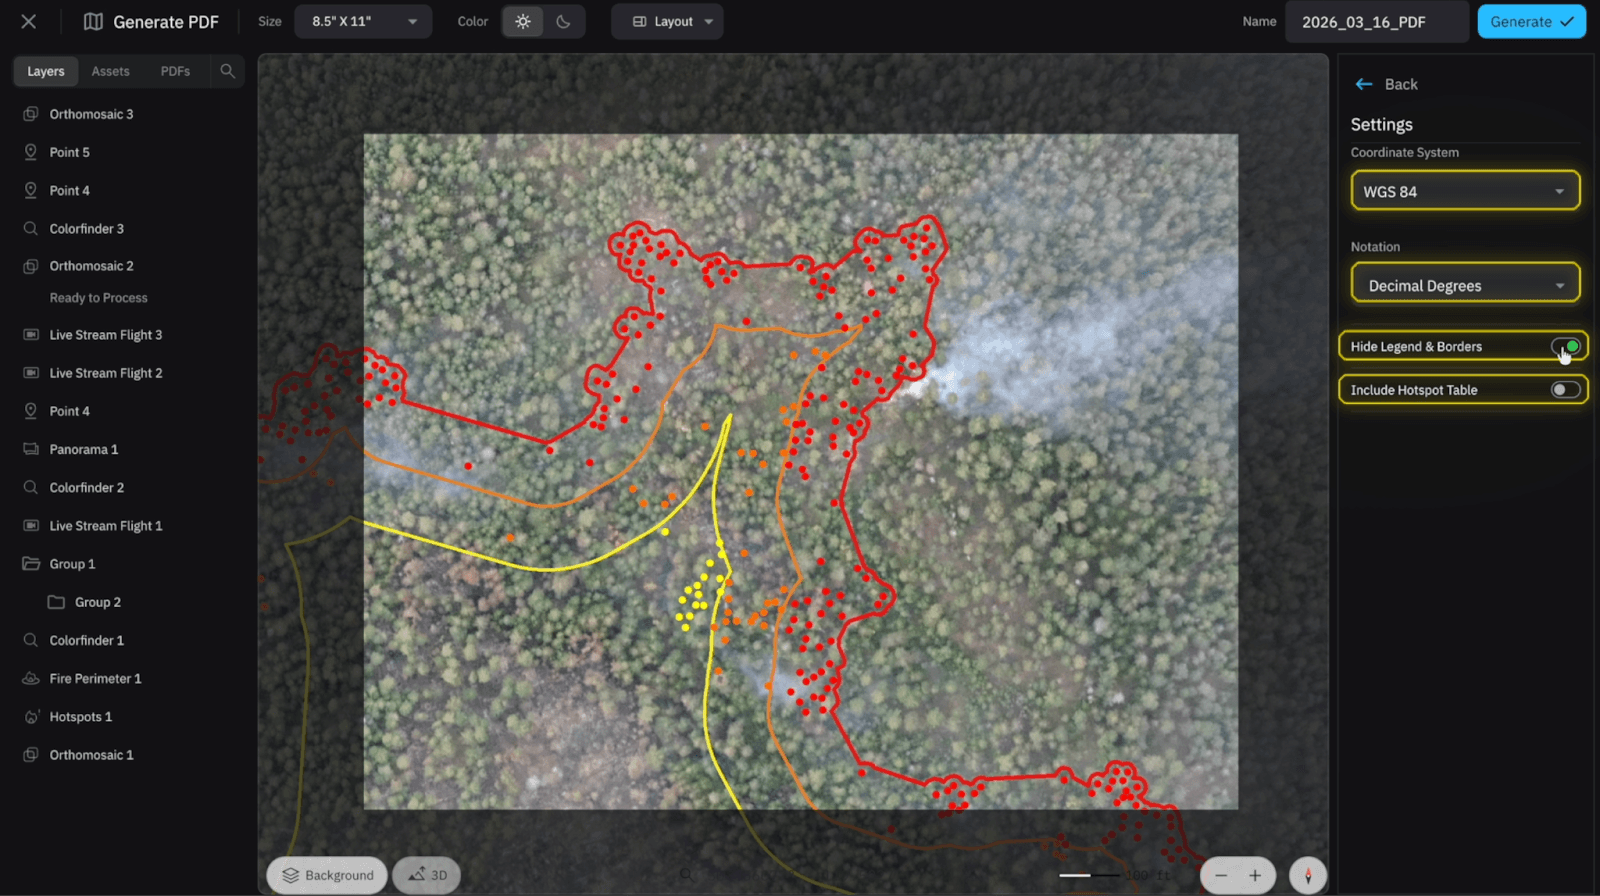
Settings
This is a very important feature to note when generating your PDF. This is where you can adjust the coordinate system, as well as the notation. Beneath that you have the option to turn off legends and borders if you want to export a georeferenced PDF to maximize space.
Lastly, we can turn on Include “Hotspot Table”, which will include all the hotspots and coordinates for field crews to walk directly to the desired hotspots.
Start for free today.
Craft the future. Respond to the present.